
Tatami Stitch – What is it and some basic features
Tatami stitch is generally used for larger areas of fill in an embroidery design, which often will be the background for lettering or other objects in the design.
Normally this would require an even stitch pattern, with a regular arrangement of stitch penetrations between to rows.
However tatami can be so much more than a backing by changing a few simple properties.
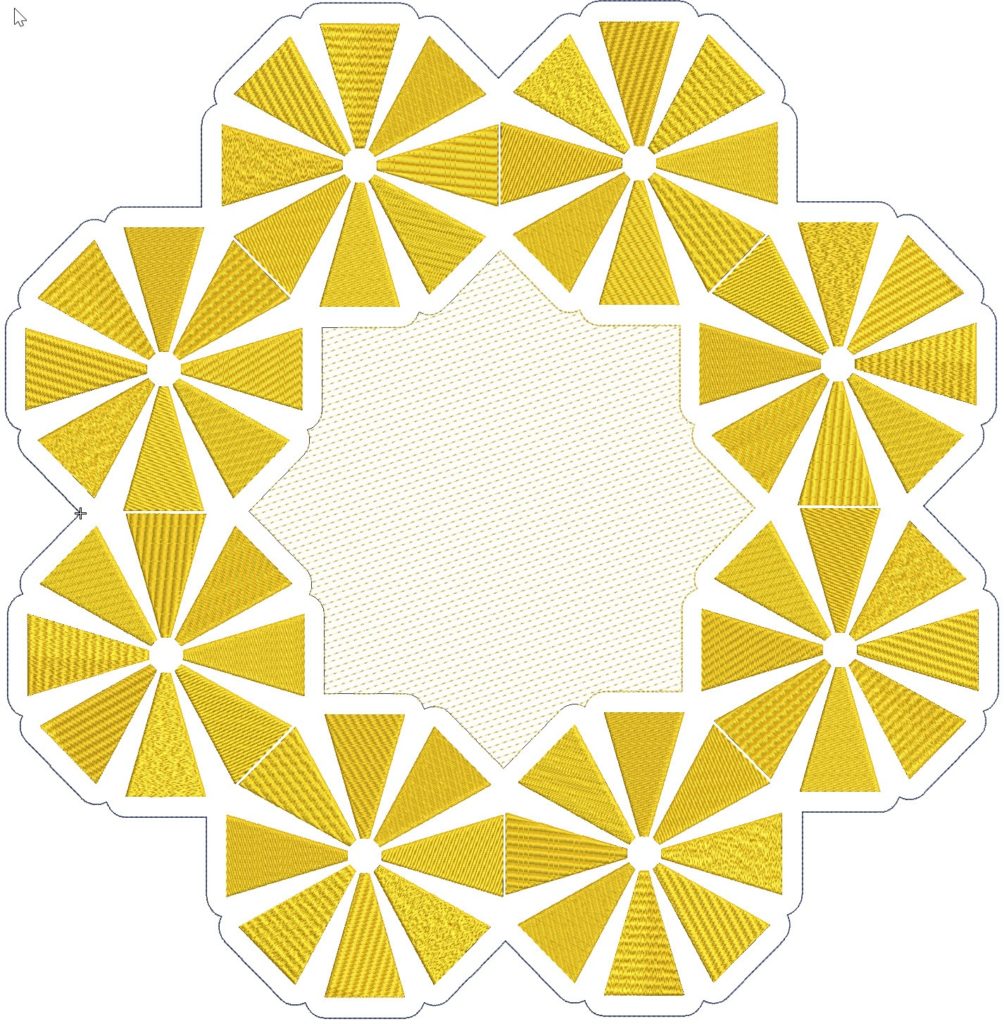
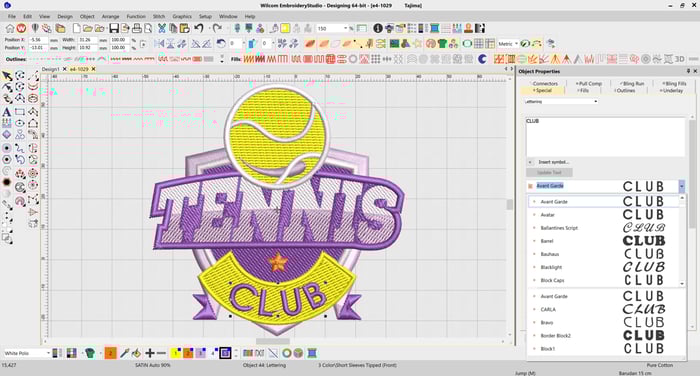
The various patterns in the image above have been created by adjusting some basic settings.
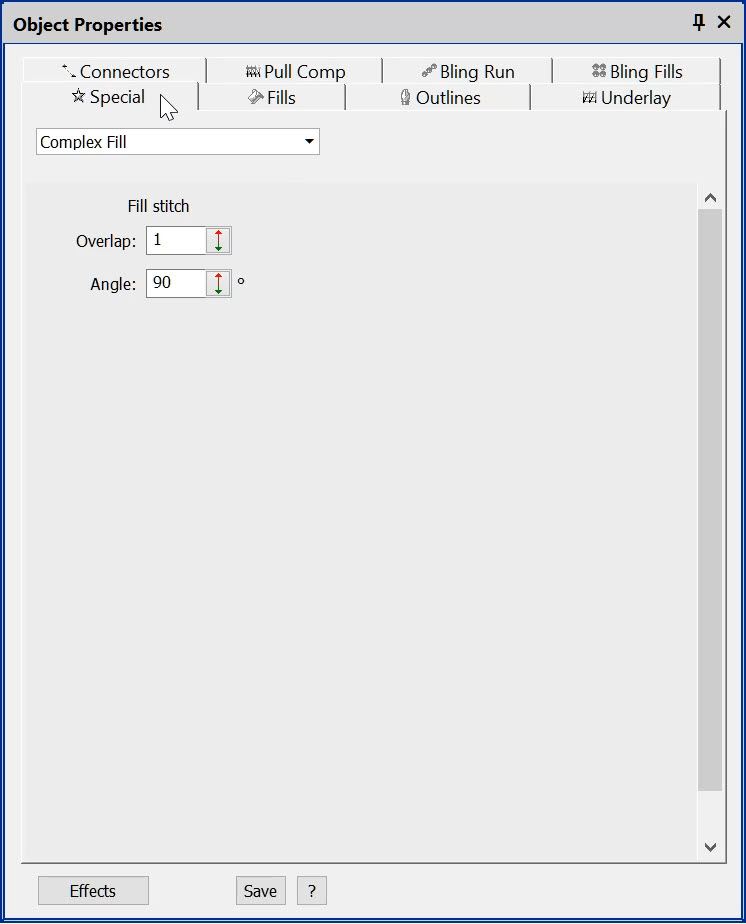
All of which can be found in 2 tabs in the Object Property Box
Special and Fills.
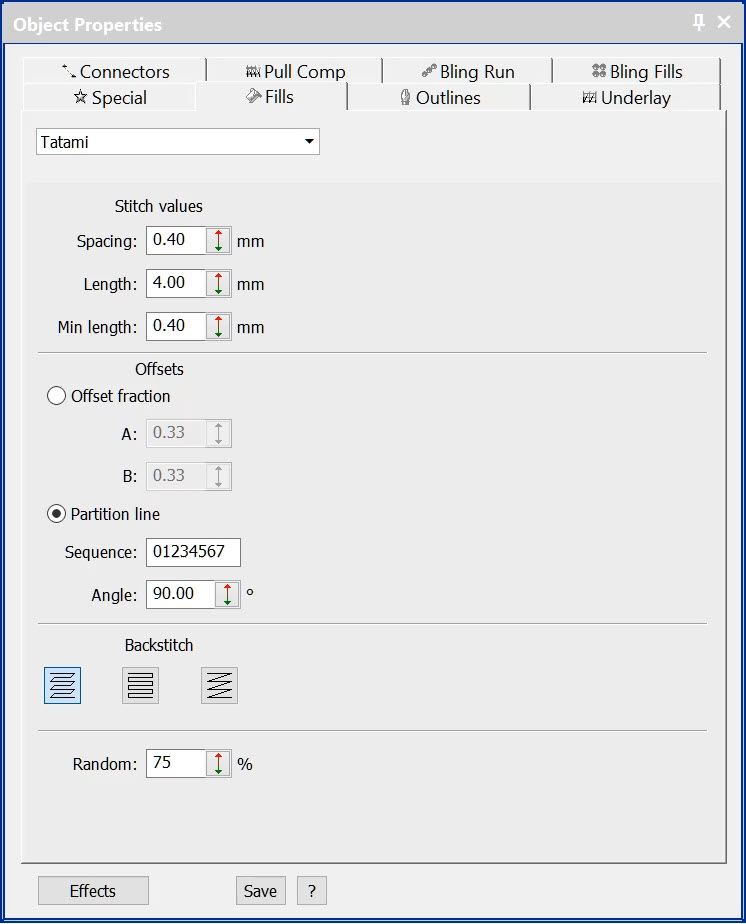
A block of tatami stitching is made up of rows of stitching referred to as the stitch line and back-stitch line.
Spacing refers to the distance between the stitch lines and is measured between two lines of stitching or at the end of the row of stitching.
Length is the distance between each stitch penetration.
Offset is the fraction of the stitch length that each row of stitching is offset from the rows before and after.

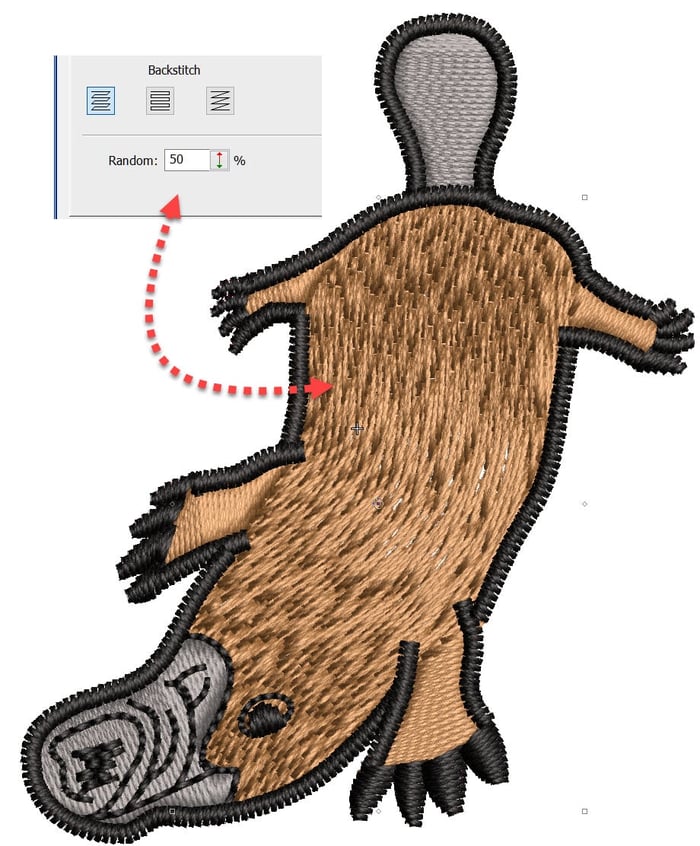
The Partition setting divides the stitch length into, up to 8 parts that a stitch can be placed on consecutive lines.
In the image below sitches are placed at points 2-0-1-6-3 of the partition before repeating the pattern.
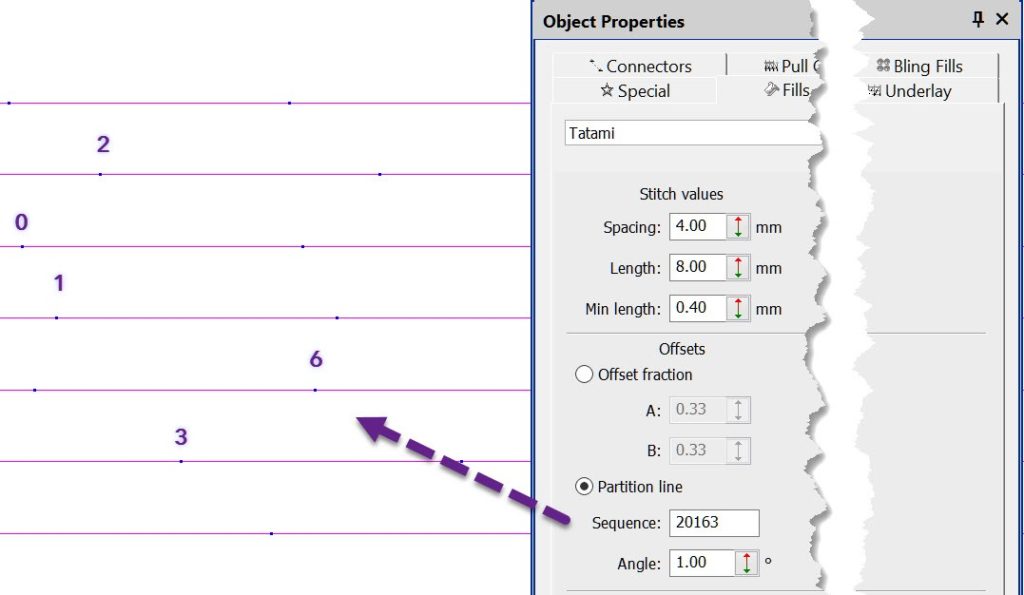
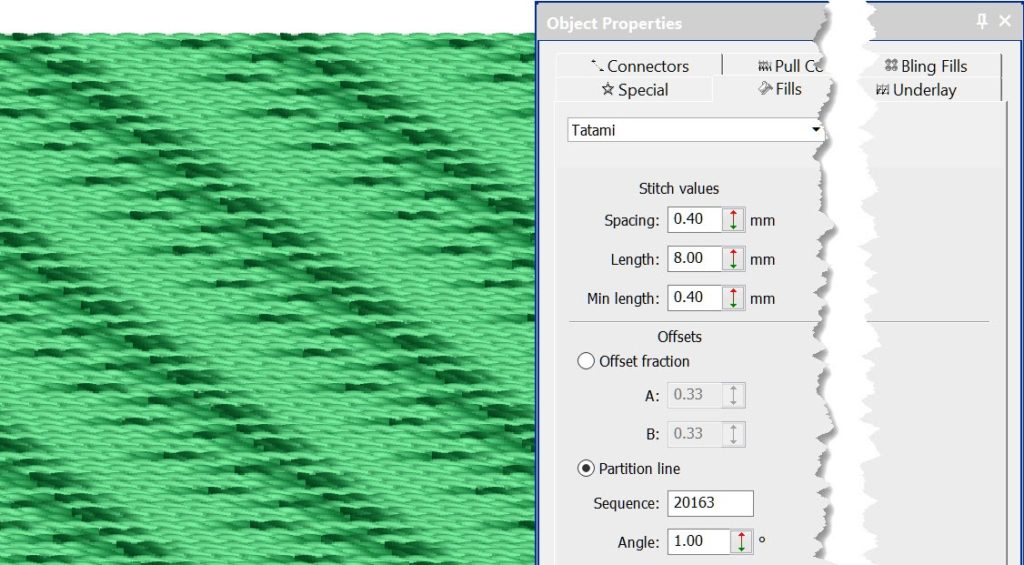
The angle determines the angle of the grid the stitch points sit on.
I find this quite mind boggling to calculate the effect I am after, I simply alter the settings until the effect I am after appears.
Ask about the world's
favorite embroidery software!
Got questions? We’re here to help.
Contact us