

Tips & Tutorials
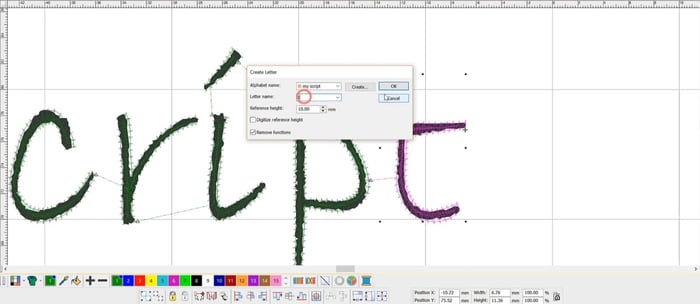
Create your own Wilcom .ESA font with Font Creator
Blog | EmbroideryStudio | Lettering | Tips & Tutorials | Video
Creating your own font with Font Creator is one of the most satisfying digitizing experiences. To be able to craft a font which is unique or maybe a true type font that just does not stitch well, is a real...

Connectors – the functions between objects
Blog | EmbroideryStudio | Tips & Tutorials | Video
Connectors are the machine functions that occur between objects or in the case of lettering inside the object and between each letter. So the logic is to select inside object when you need to deal with the...
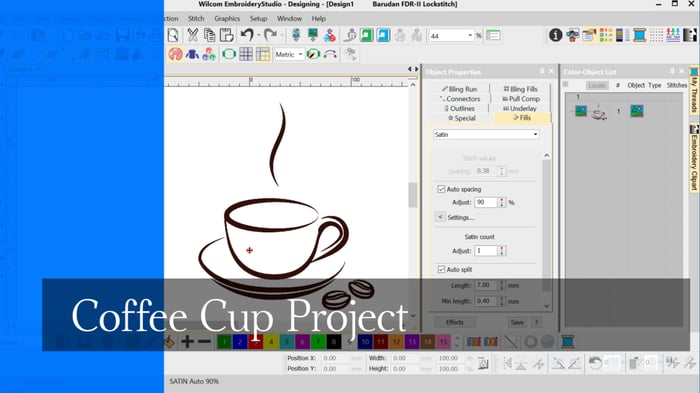
Coffee Cup Project
Blog | EmbroideryStudio | Tips & Tutorials
When learning to digitize I think it is important to begin with simple designs, after all even the most complicated embroidery design is created with a few simple tools and a few stitch...
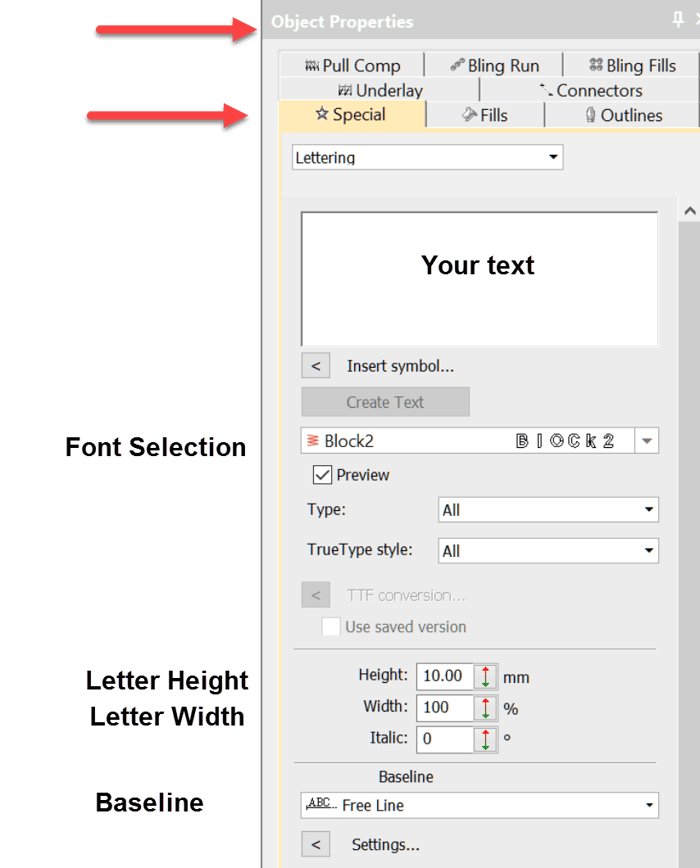
Your first line of lettering created on a Freeline
Blog | EmbroideryStudio | Lettering | Tips & Tutorials | Video
Whether you are using a lettering package or a high end digitizing system the same standard procedure to create lettering applies.When you are talking about Wilcom’s lettering it is difficult to use...

Complex Fill Tool
Blog | EmbroideryStudio | Tips & Tutorials | Video
The complex fill tool is used to create larger shapes where a single stitch angle is required, the tool is generally associated with tatami stitching, of course the size of the object will also help...
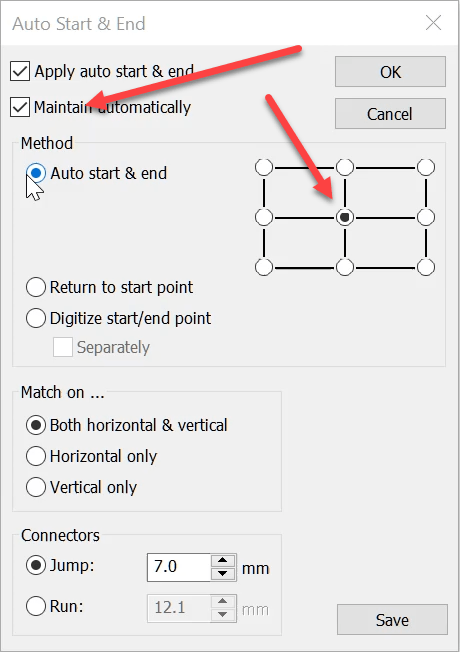
Auto Start End
Blog | EmbroideryStudio | Tips & Tutorials | Video
The Auto Start End feature is critical to have set correctly to avoid driving the needle into a hoop but it is more useful than this basic function.It is possible to place the start and finish point at...
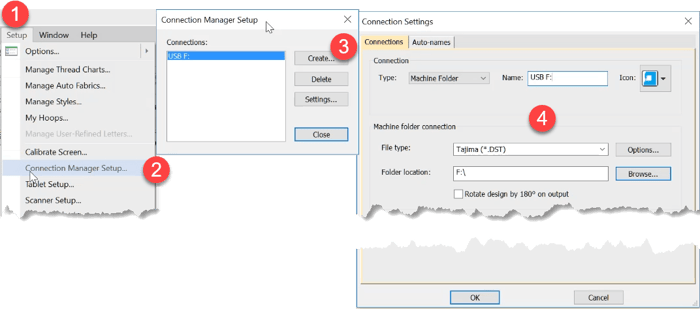
Export a machine file to a USB Drive
Blog | EmbroideryStudio | Tips & Tutorials | Video
Thanks to Paula, Anne Marie, Crystal, Bob and others who have raised this issue. Some people including myself have been frustrated that Windows 10 is not remembering the default drive to export machine...

Auto Kerning
Blog | EmbroideryStudio | Feature overview | Tips & Tutorials | Video
Even in print different letters have different kerning values.Two O’s are usually spaced closer together than two I’s. This is particularly important in embroidery. Two I’s, if too close...
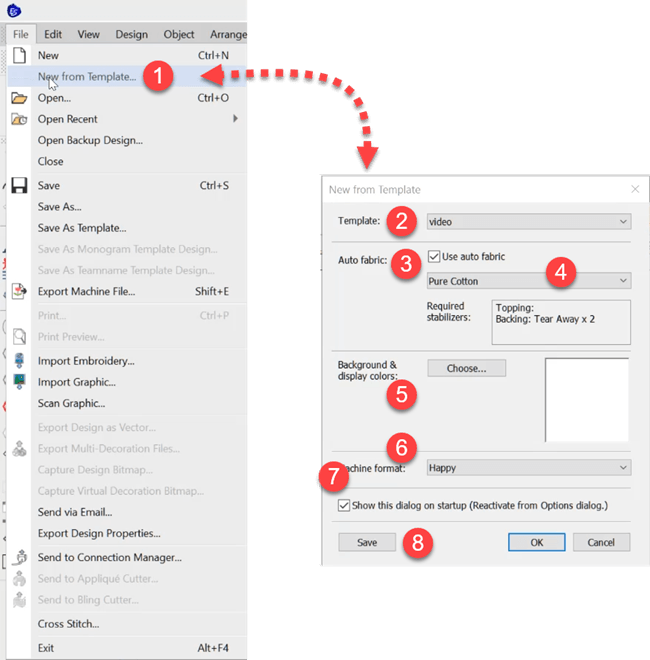
Auto Fabric Assistant
Blog | EmbroideryStudio | Tips & Tutorials
To do this The Auto Fabric Assistant controls three quality control properties in your designs. These settings will change depending on the fabric you choose and the size of the object. To use the auto...
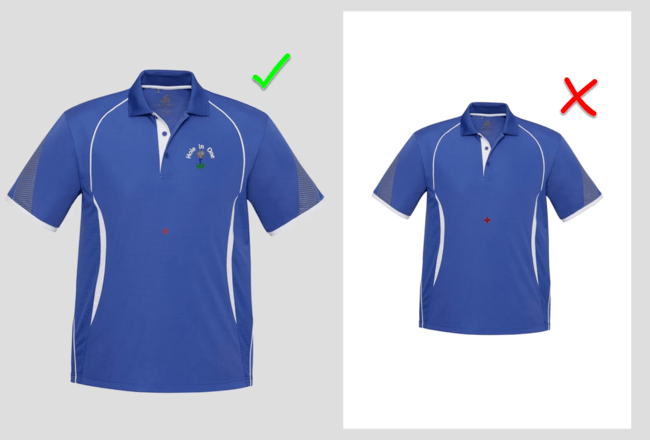
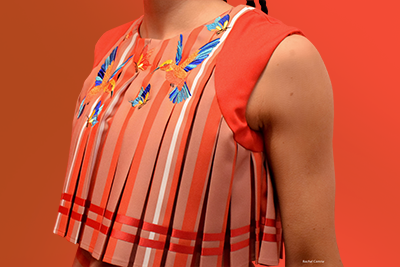
Create an image with a transparent background for the product visualizer
Blog | EmbroideryStudio | Feature overview | Tips & Tutorials
When displaying an image in the product visualizer an image with a transparent background in more professional than showing a white background. Corel PhotoPaint is included in the CorelDRAW suite of...

Creating automatic borders and outlines with Offsets Advanced Element
Blog | EmbroideryStudio | Feature overview | Tips & Tutorials | Video
Creating a border or outline is something you probably do every day as an embroidery digitizer. But did you know there is a quicker way to create borders and outlines with the Offsets Advanced Element...
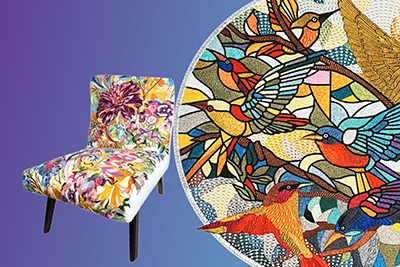
Some compelling reasons to upgrade DecoStudio to EmbroideryStudio e4 Decorating
Blog | EmbroideryStudio | Tips & Tutorials | Video
There are many compelling reasons to update from DecoStudio to e4 Decorating. Here are a few Instant smart Design will create an .emb embroidery file from a raster image within seconds, but what I...