


Your first line of lettering created on a Freeline
Whether you are using a lettering package or a high end digitizing system the same standard procedure to create lettering applies.
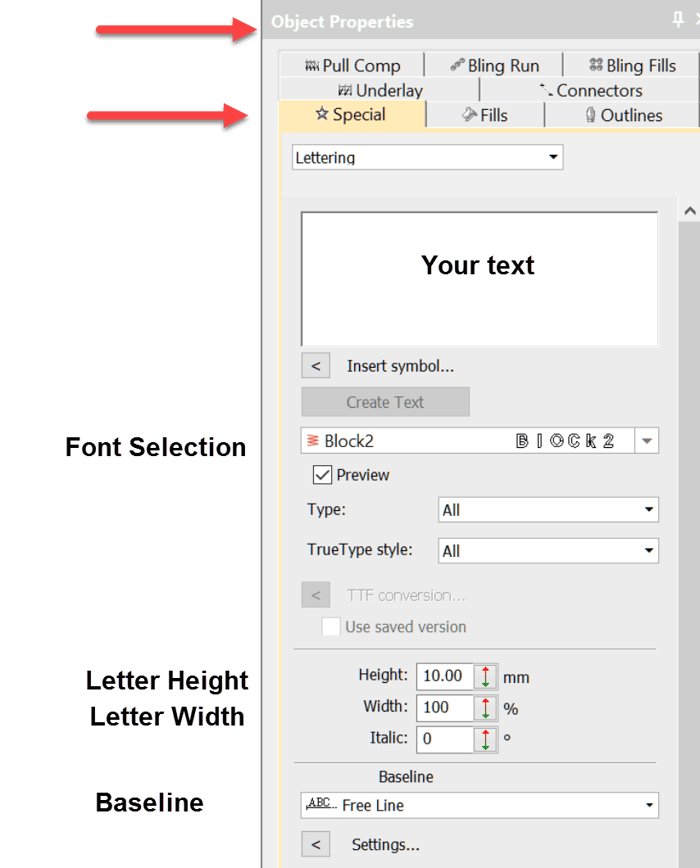
When you are talking about Wilcom’s lettering it is difficult to use the word “basic” as there are so many options available.
However in this video I demonstrate the basic freeline, which in all likelihood, will be the most used baseline for you, it is the standard baseline I use in my template.
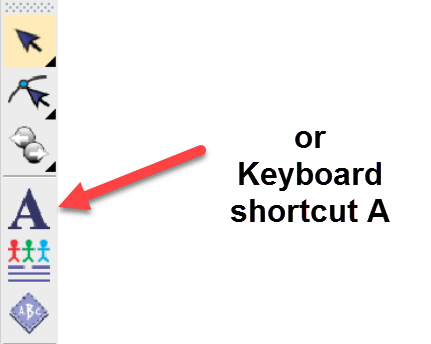
The Font properties are activated by left clicking on the font tool in the main toolbox, however I prefer to use the keyboard shortcut “A” which does the same thing.
Note if you right click on the icon you can go straight to the work area and begin typing, the resulting lettering will have the standard properties that are saved to your template. By following the left click or shortcut A method you have an opportunity to setup the lettering before you begin to type.
The properties box
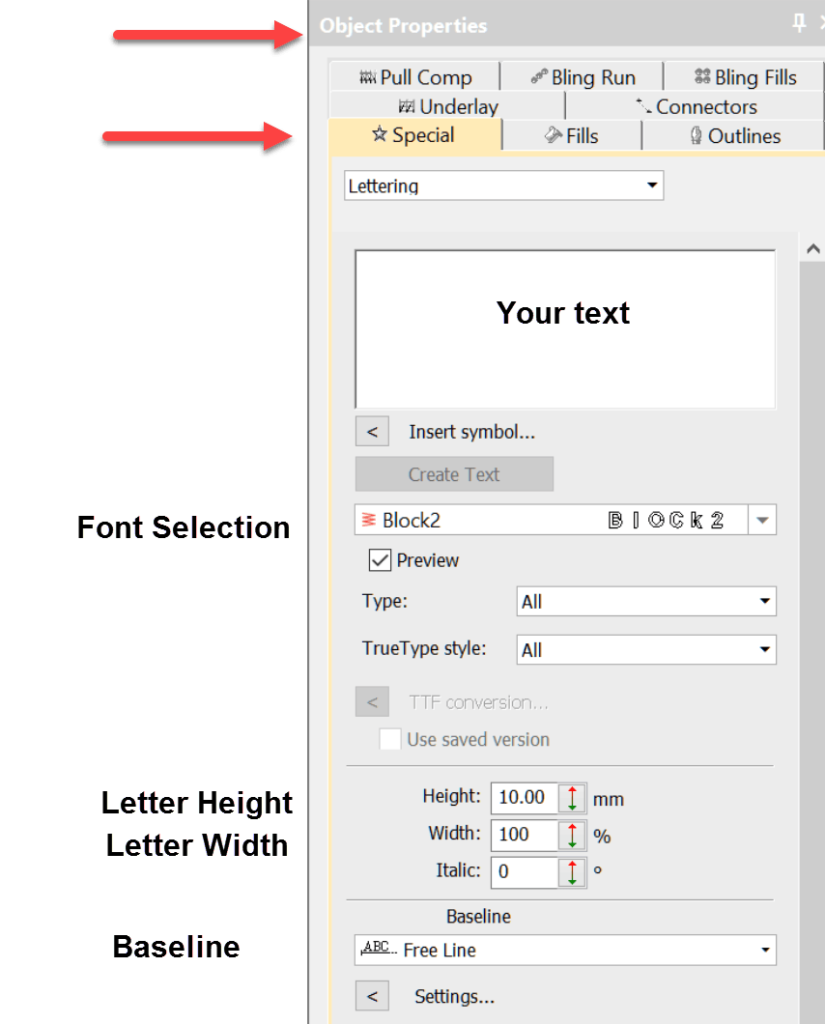
Once you have made your selections click the Create Text button and click once on the work area once.
Your text will be created on a line that is long enough to accommodate the letters at their natural 100% width.
Ask about the world's
favorite embroidery software!

Got questions? We’re here to help.
Contact us