
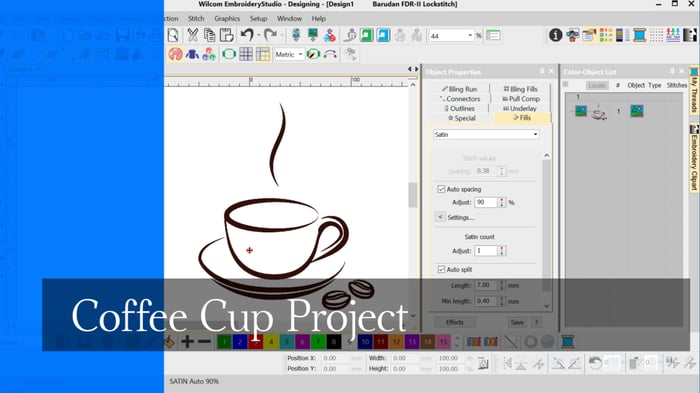
Coffee Cup Project
When learning to digitize I think it is important to begin with simple designs, after all even the most complicated embroidery design is created with a few simple tools and a few stitch types.
Understanding the basics while creating a manageable design will make your learning more enjoyable and at the end of the day you will learn more quickly.
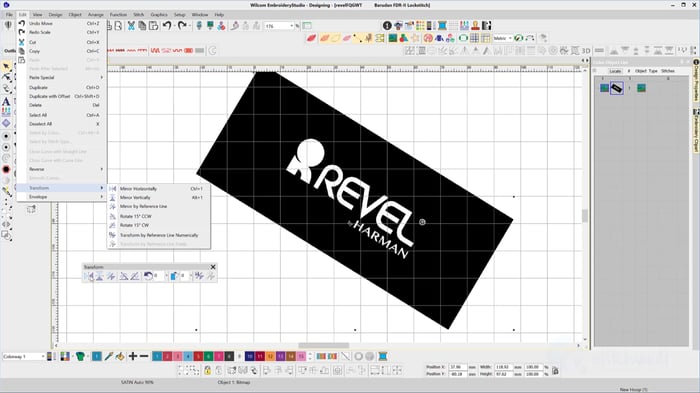
In this coffee cup design I want you to think about the logical sequence of objects to avoid thread trims and the use of a run stitch for detail and as a connecting stitch between to otherwise unconnected objects.
The Tools used will be.
- Outline Run tool
- Back track
- Column A
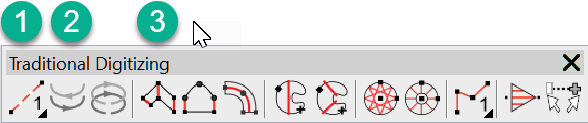
Traditional Toolbar
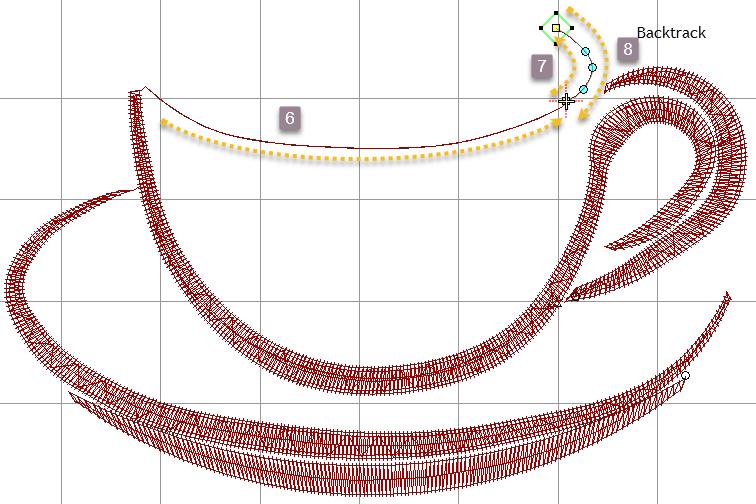
Take particular notice of objects numbered 6 , 7 and 8 when watching the video, to understand how to use the run stitch as a connecting stitch and to provide detail.
Attached is a step by step instruction sheet and some art work to practice yourself. Please let me know how you go with this.
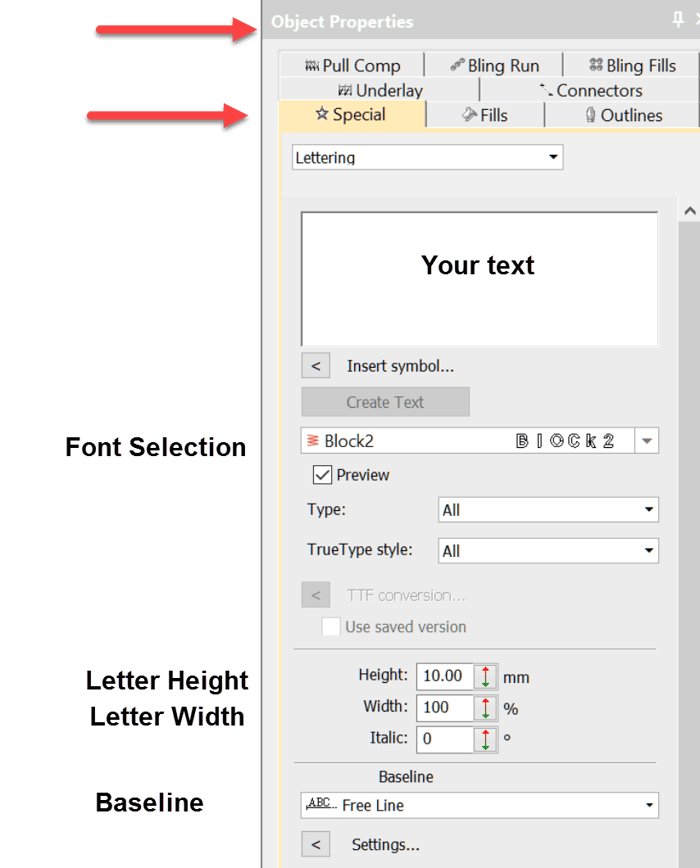
Column A tool
Ask about the world's
favorite embroidery software!

Got questions? We’re here to help.
Contact us