Stitch Fest is here - a month of embroidery events plus 20% OFF one-time EmbroideryStudio 2025!
  • Return to Blog

How to reshape objects in your embroidery design

How to reshape objects in your embroidery design


2 minute read

Listen to this great Wilcom blog
Audio generated by DropInBlog's Blog Voice AI™ may have slight pronunciation nuances. Learn more

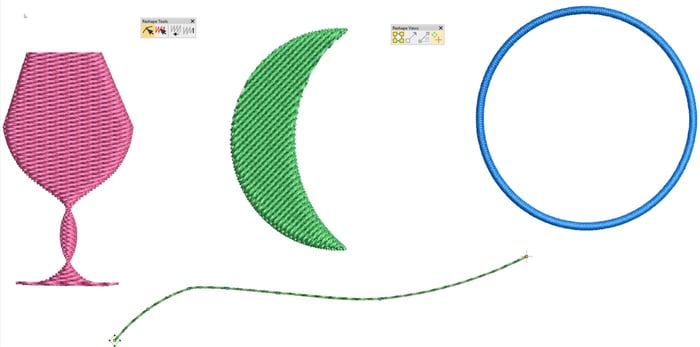
Keyboard Shortcut “H” is one of my top 10 shortcut keys. Objects need to be reshaped for all sorts of reasons, perhaps to make a slight adjustment to correct a registration issue or improve the shape of a design element.
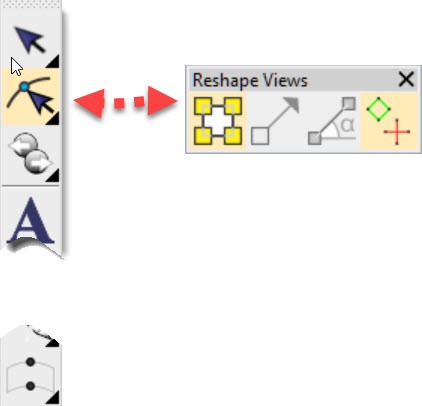
The Reshape icon is found under the Object Select icon in the Toolbox.


When the Reshape Tool is activated a Reshape Views dialog will appear somewhere on your work space.

The four icons display or hide:

  • The shape nodes
  • Bezier Angle Tool
  • Stitch Angle
  • Start and Finish location
When the Icon is active there is  yellow background highlighting the icon.
 

While the first icon is the most used and useful there are 3 other tools in the Reshape Toolbar

  • Stitch Edit
  • Keep Last Stitch
  • Omit Last Stitch


I need to say, I rarely if ever use these last 3 tools nowadays. Remember the software tools create objects and fill each object’s shape with stitches according to the properties applied to the shape. It is important to understand that when a file is saved as an emb file then only the shape and properties relating to the shape are saved, no actual stitch points, so moving an individual  stitch and saving as an emb file the stitch edit will be lost.  The only time a stitch edit will be saved is if the file is saved as a machine file e.g. a .dst.

The last two icons toggle between leaving the last stitch in an object or removing it. With the closest join feature these icons are now largely irrelevant.


Ask about the world's
favorite embroidery software!

ENQUIRE

Trial all levels and features
Already own Embroidery Software? Get a No-Obligation Quote Today!

Got questions? We’re here to help.
Contact us

« Back to Blog