


Simple embroidery digitizing tutorial
Listen to this great Wilcom blog
Audio generated by DropInBlog's Blog Voice AI™ may have slight pronunciation nuances. Learn more
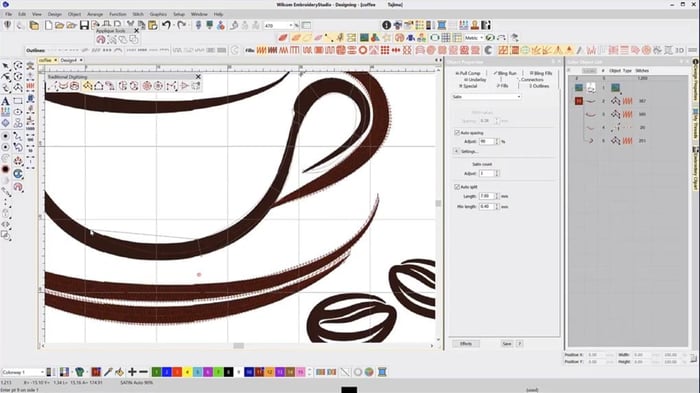
In this embroidery digitizing tutorial, I focus on using the Single Run outline tool and Column A digitizing tool, as a result giving you an overview of digitizing a design in Wilcom EmbroideryStudio. Step by step I’ll walk you through creating this simple coffee cup design explaining the use of each tool. Most importantly, I’ll also outline the importance of node and stitch angle placement.
My top tips for digitizing
- Avoid trims by first carefully planning the sequence of your objects
- Try to digitize your design from one side to another (right to left, or bottom to top). This helps avoid trims and unnecessary travel stitches
- Use Column A tool for turning satin objects
- Travel under objects with a Single Run to avoid costly trims
- Use your Color-Object List to see the objects in and sequence of your design
- Use the ‘H’ key to enable the reshape tool to reshape and refine your design
- Zoom in closer to help with your node and object placement
Watch the video
If you have any questions feel free to ask in the comments section below.
Ask about the world's
favorite embroidery software!
Trial all levels and features

Already own Embroidery Software? Get a No-Obligation Quote Today!
Get the latest Wilcom blog posts and company updates straight into your inbox.
Got questions? We’re here to help.
Contact us