






Continue Digitizing Existing Objects
Table of Contents
- What is Continue Digitizing?
- Transform Existing Lettering into NEW Designs using Continue Digitizing
- Two Main Ways to Use Continue Digitizing
- 1. Continue From an Already Selected Object
- 2. Return to and Extend an Existing Object
- Using Continue Digitizing offers several advantages:
- See Continue Digitizing in Action
- Helpful Tips
Continue Digitizing Seamlessly in Wilcom Software
Digitizing embroidery designs in one go is great — but how often do you find yourself refining shapes, extending sections, redoing, or needing to pick up where you left off? Instead of starting again or creating new objects, Wilcom’s Continue Digitizing tool allows you to seamlessly resume and extend existing embroidery objects while maintaining clean joins and preserving the original object properties.
Whether you’re working on satin columns, outlines, fills, or block-digitized elements, this tool helps streamline your workflow while keeping your embroidery objects fully editable.
What is Continue Digitizing?
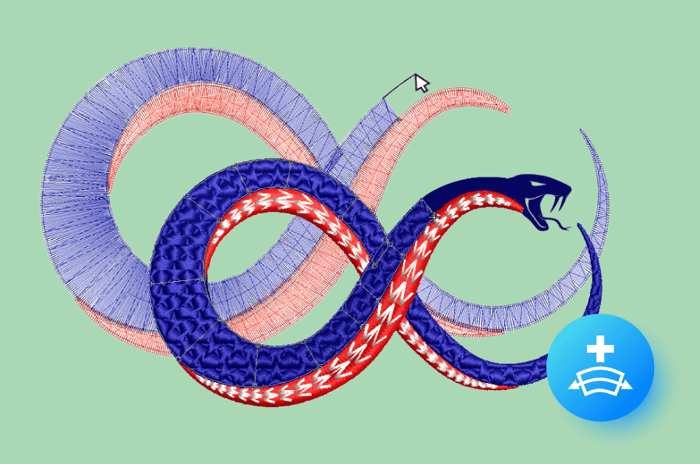
The Continue Digitizing feature lets you continue working on an existing embroidery object (grouped or otherwise) without starting over.
This means you can:
- Resume digitizing from the last point you stitched
- Extend existing objects while preserving their properties
- Maintain smooth joins and cleaner embroidery results
- Work faster without splitting objects into separate pieces
- Available in the Designing and Decorating levels
It’s a simple tool that can make a big difference in everyday digitizing efficiency.
Transform Existing Lettering into NEW Designs using Continue Digitizing
A great example of Continue Digitizing is extending or refining Wilcom embroidery lettering without creating extra objects or losing stitch settings.
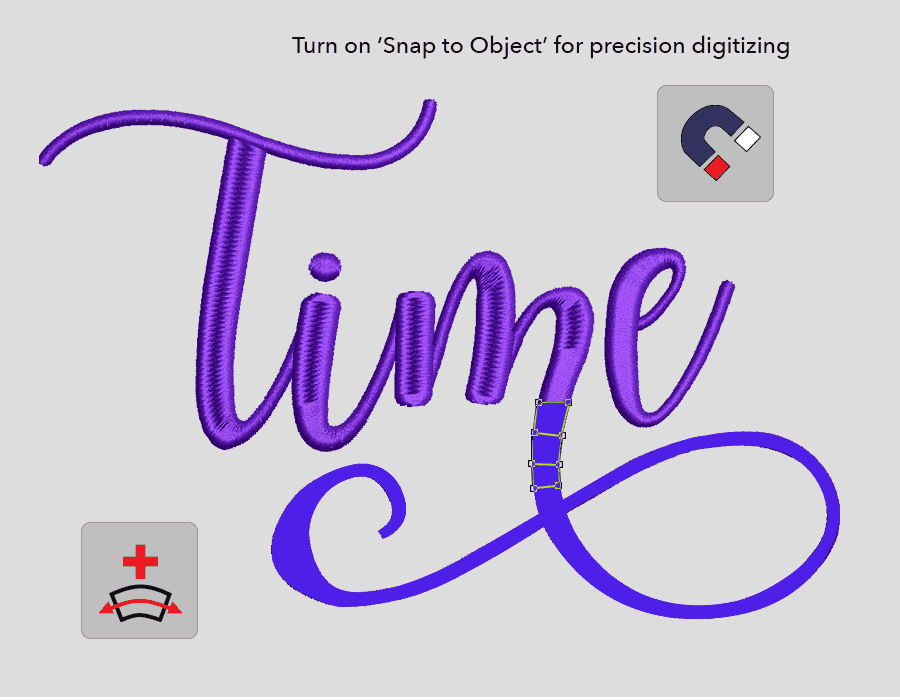
Start by choosing a font. In our example, we’ve selected the new Script Love font. We want to add extra detail and reshape part of the lettering while maintaining the original stitch settings.
First, use Break Apart (Ctrl + K) to separate the word into individual letters.
Next, select the “m” and press Ctrl + K again. This converts the letter into individual embroidery objects, allowing you to directly edit and extend the shape.
Now use the Continue Digitizing tool to extend the “m” while keeping all original stitch properties intact.
Because you are continuing the existing object rather than creating a new one, the additional stitching blends seamlessly into the original embroidery object.
Tip: Turn on Snap to Object, and you will see snapping activate against the vector design as you digitize. The result is fast, precise digitizing.
Two Main Ways to Use Continue Digitizing
Although both methods use the same tool, they work slightly differently depending on whether the object is already selected or whether you are returning to an existing object later.
1. Continue From an Already Selected Object
Use this method when you have just finished digitizing and want to continue working on the same object immediately.
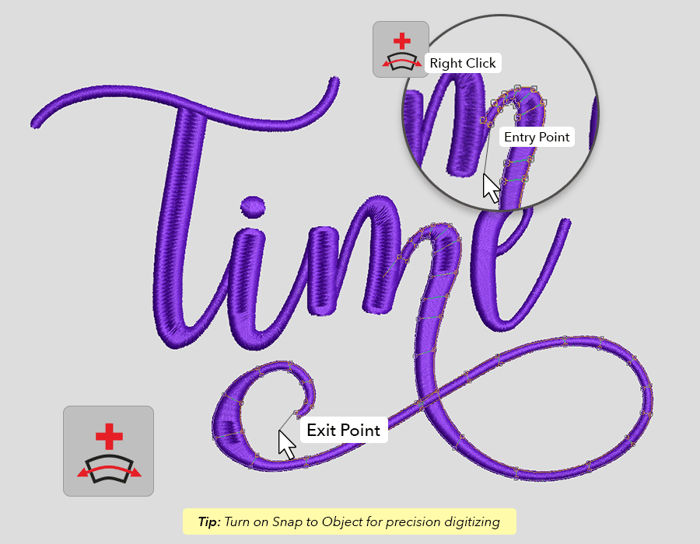
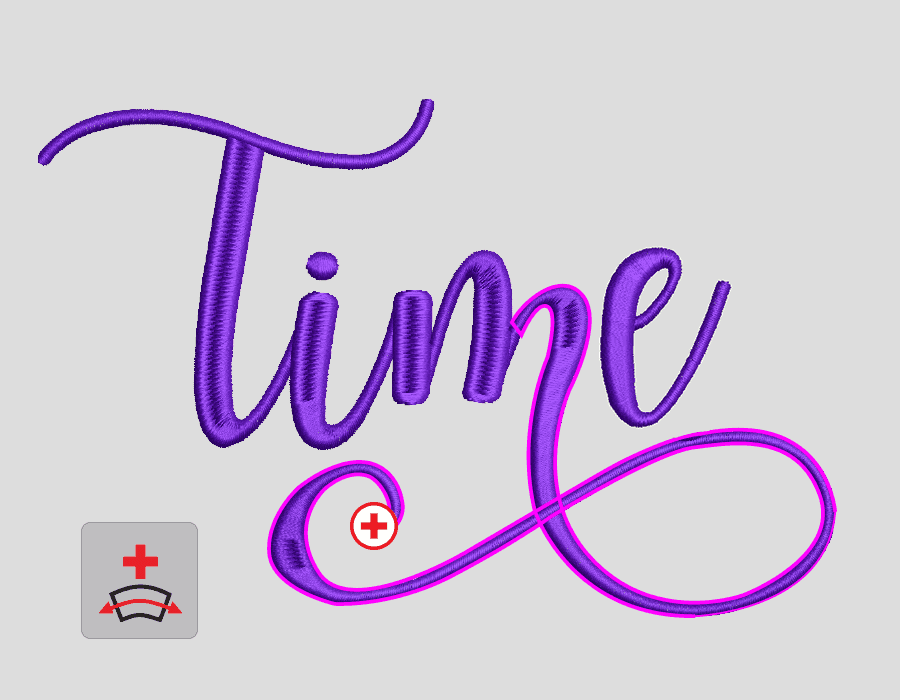
How it works: With the object selected, left-click the Continue Digitizing tool The object becomes active for editing, displaying the edit nodes along with the continue node so you can resume digitizing directly from where you left off.
By default, Wilcom continues from the exit point of the object. Right-click the Continue Digitizing tool instead if you want to continue from the entry point.
This workflow is ideal when you are actively working on a design and simply want to continue immediately after completing an object.
Tip: This works whether objects are grouped or ungrouped, and if Snap features are enabled, you will see snapping activate against the object or grid as you digitize.
2. Return to and Extend an Existing Object
Use this method when you want to come back later and extend an existing embroidery object.
How it works: Select the Continue Digitizing tool, then hover your cursor near the object Wilcom displays a plus (+) symbol at the closest endpoint — either the entry or exit point. Once you click, you can immediately continue digitizing from that location.
Because you are extending the original object, stitch properties and object settings remain consistent throughout the design.
Tip: This method is ideal for revisiting designs later to refine shapes, extend embroidery sections, or add detail without creating extra objects.
Continue Digitizing works with the following Input Methods
- Satin columns (Column A/B/C)
- Outline stitching
- Beads
- Sequins
Note: Continue Digitizing does not work with Complex Fills.
Using Continue Digitizing offers several advantages:
Cleaner embroidery objects: Maintain smooth joins and keep the Color-Object List cleaner, making designs easier to organize, edit, and manage.
Faster editing workflow: Extend or modify designs without recreating objects from scratch.
Consistent properties: Keep stitch settings, underlay, density, and other object properties intact.
Easier future editing: Single editable objects are simpler to reshape and adjust later.
The Continue Digitizing tool is one of those small but powerful efficiency features that can save significant time during embroidery digitizing. Whether you’re refining outlines, extending satin columns, or revisiting unfinished sections, it helps you work more efficiently while keeping embroidery objects clean and fully editable.
See Continue Digitizing in Action
Helpful Tips
If you’re unsure how the tool behaves in a specific digitizing mode, hover over the tool in your Wilcom software and press F1 to open the relevant help documentation instantly.
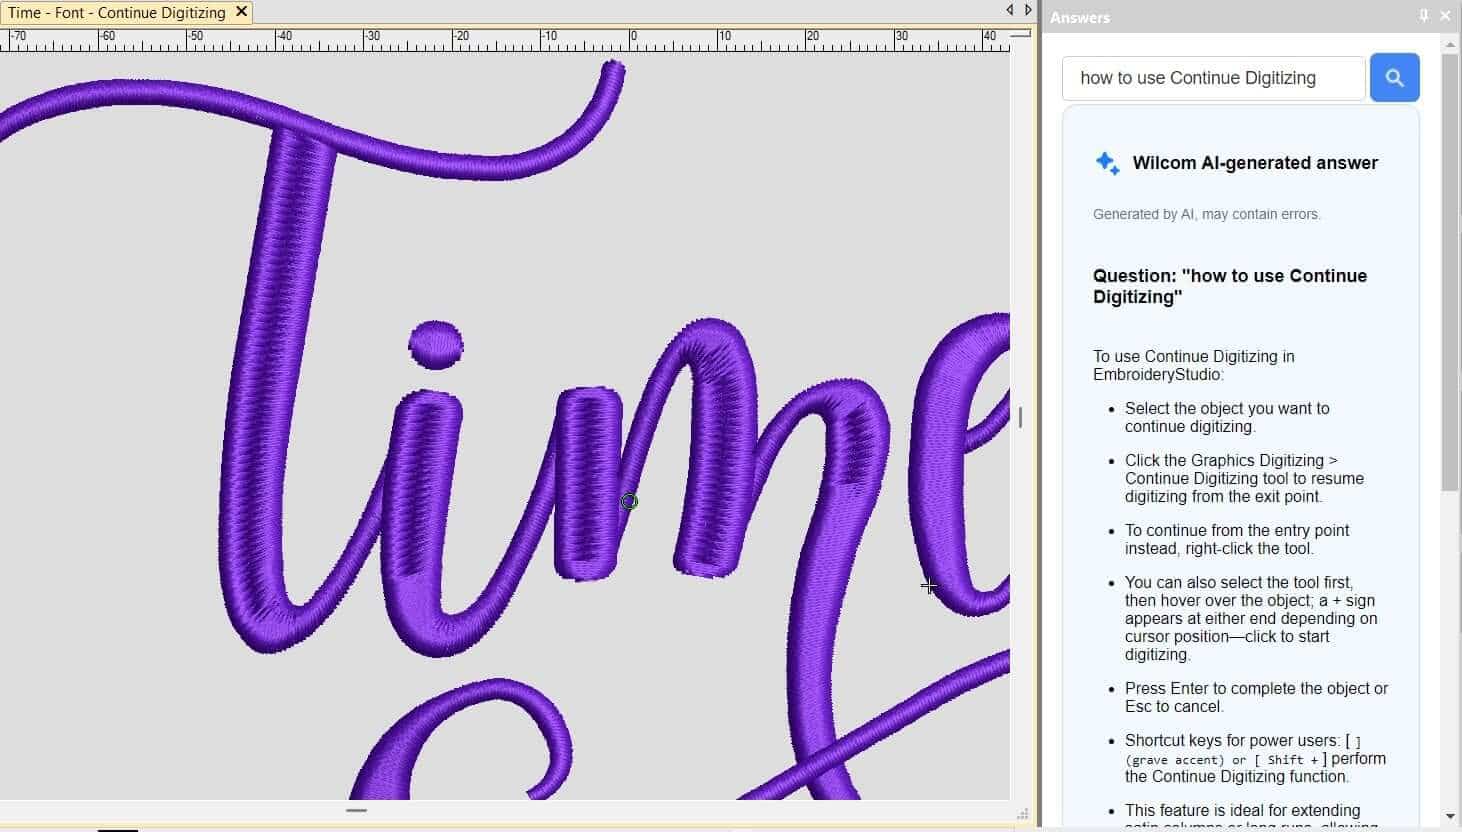
You can also use Wilcom Answers to help you.
Find out more features added to Wilcom's EmbroideryStudio 2026:
10 Reasons To Love EmbroideryStudio 2026
Ask about the world's
favorite embroidery software!

Got questions? We’re here to help.
Contact us