EmbroideryStudio
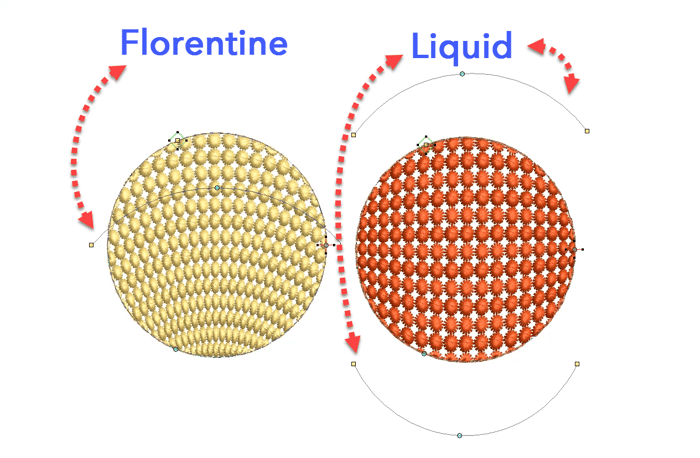
Curved Fills -Florentine and Liquid
Blog | EmbroideryStudio
The tools are found in the Stitch Effects Toolbar.Florentine and Liquid fills are stitch angle baselines that can be applied to Tatami or Motif filled objects.Florentine has one angle line while...
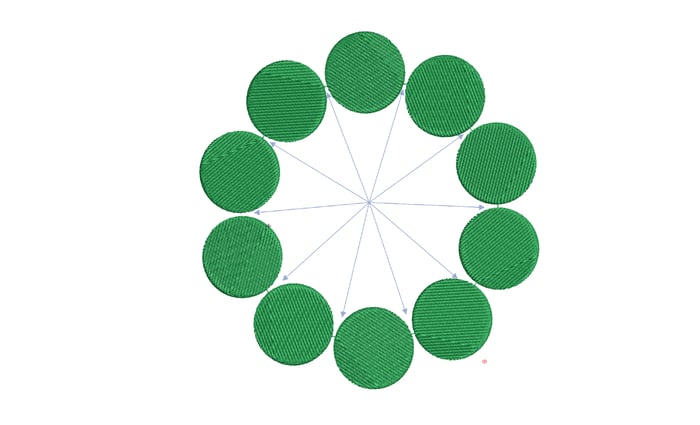
Closest Join
Blog | EmbroideryStudio | Tips & Tutorials
We should all be aware of the closest join feature in Wilcom lettering. Did you know there is an automatic setting to adjust the start and finish points of objects as you digitize. Why is Closest join...
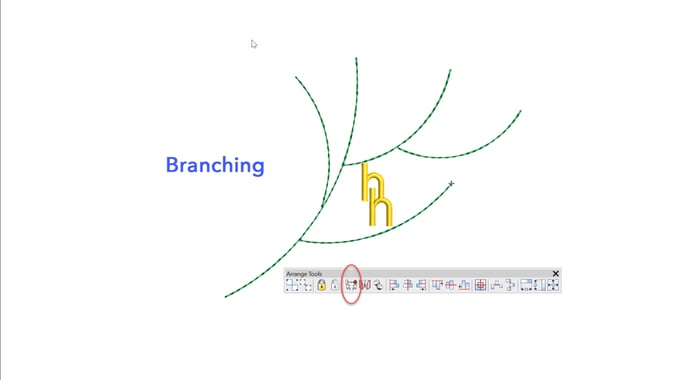
Branching
Blog | EmbroideryStudio | Tips & Tutorials
The Branching feature intelligently sequences objects then groups them so a start and finish point can be allocated to the group. Each object must touch or be overlapped by another object in the group...
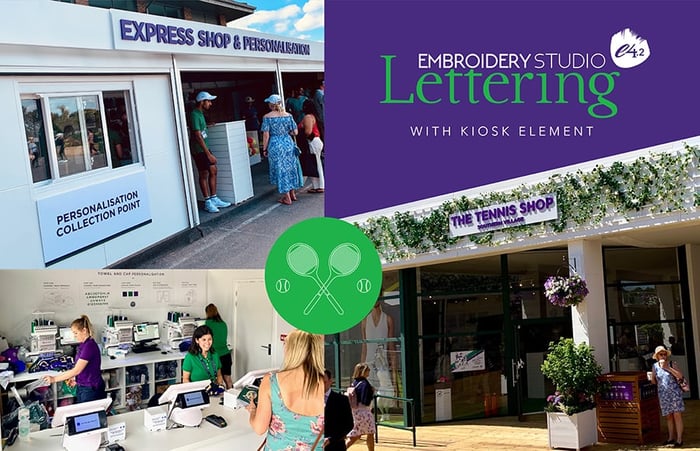
Wimbledon and Wilcom are back with a smash in 2019!
Blog | EmbroideryStudio | News and Stories
Last year, Embroidery Training Ltd ran an embroidery personalization booth at Wimbledon. After incredible success and a surging demand, they returned in 2019 and have doubled the shop size. Wilcom’s...
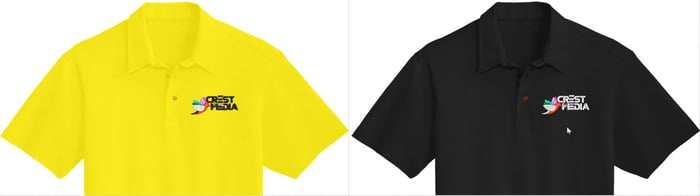
Create a Colorway then display on an Approval Sheet and email to your Customer
Blog | EmbroideryStudio
Do you have several versions of the same design, the only difference being the colors? Creating separate colorways for one design to accommodate different colored garments is a more efficient and much...
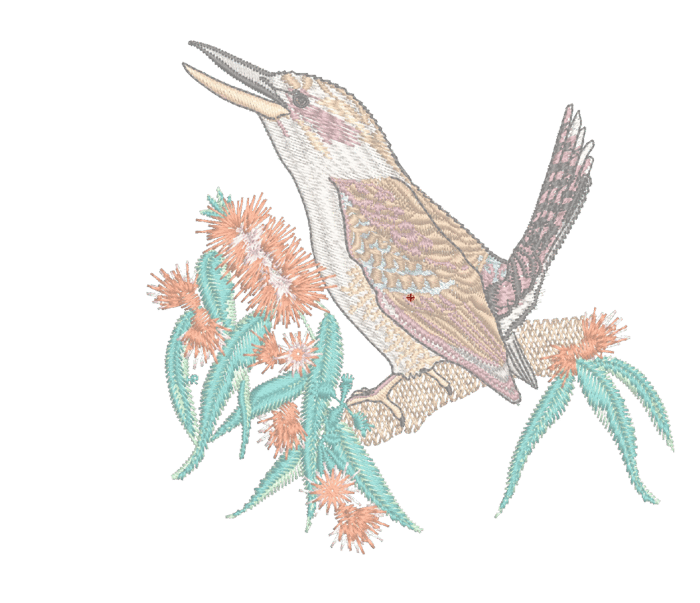
What can I learn from an Embroidery Design?
Blog | EmbroideryStudio
Analyzing completed embroidery files is an excellent method to learn from others.Knowing what to look for is key to the learning process and the best places to begin are the Color Object and the Object...

How to create a line of lettering on any shape of baseline including a spiral
Blog | EmbroideryStudio | Lettering
The Any Shape baseline is the most versatile of all, able to create a straight line of lettering through to a complex Spiral. Look for the baseline in the list As with all tools left clicking creates an...
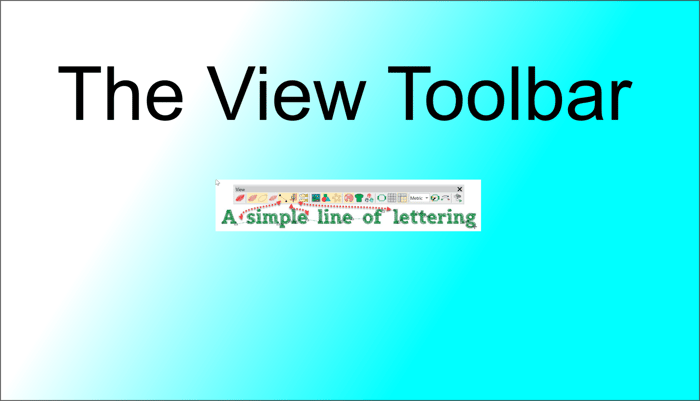
What can I learn from a simple Line of Lettering?
Blog | EmbroideryStudio | Tips & Tutorials
In this article we look at what we can learn about an embroidery file in the different views available in the VIEW TOOLBAR. The First 4 icons determine how you view the design, in turn from left to...
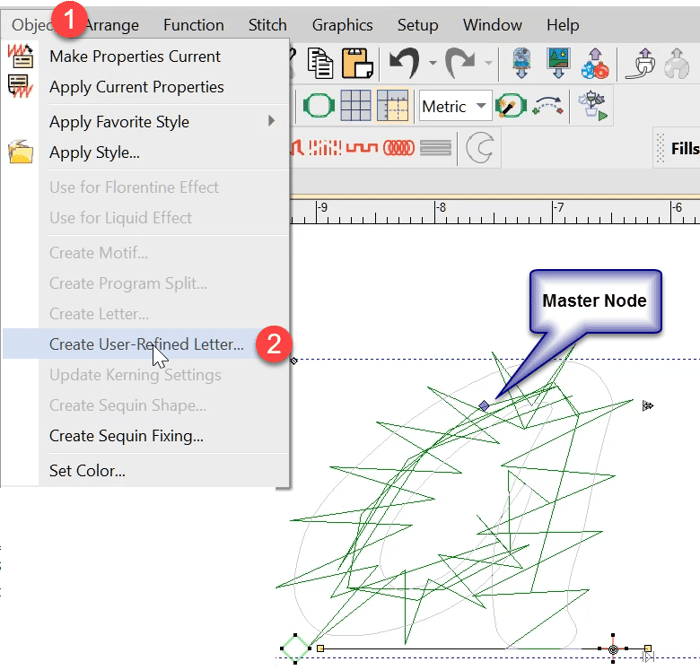
User Refined Letters
Blog | EmbroideryStudio | Tips & Tutorials | Video
You may have noticed some letters in some fonts do not perform well when stitched out if the letter size is too small or perhaps too large.Classic examples are the lower case “i”, when the...
Father’s Day Fun
Blog | EmbroideryStudio | Tips & Tutorials
Here is a fun exercise creating a Father’s Day design with a minimum of effort.Sometimes you need to get a design out quickly and you know you have suitable and available Clipart to draw from.In...
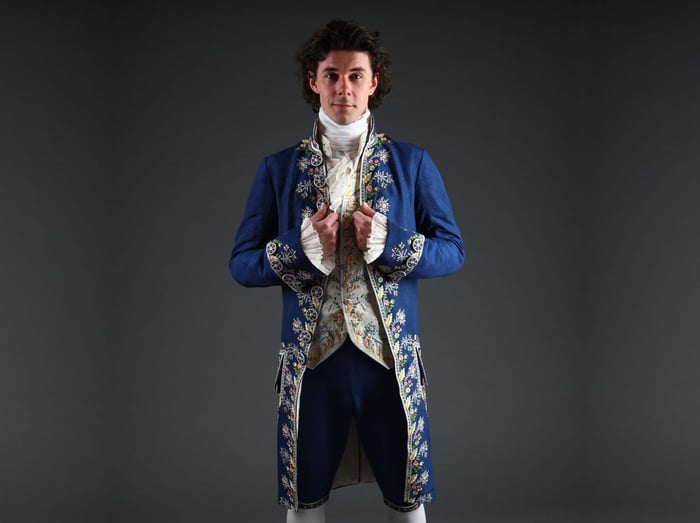
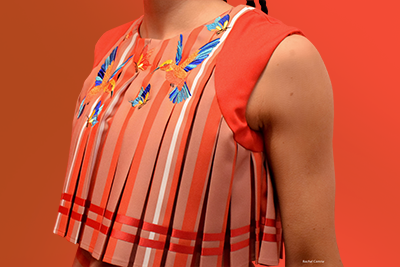
Behind the Scenes of Twan Lentjes Creations
Blog | EmbroideryStudio | News and Stories | Tips & Tutorials | Video
I set my goals high, and with aspirations of working in theatre costume design, I decide on creating a beautifully embroidered habit à la française for my final year project. Is this...
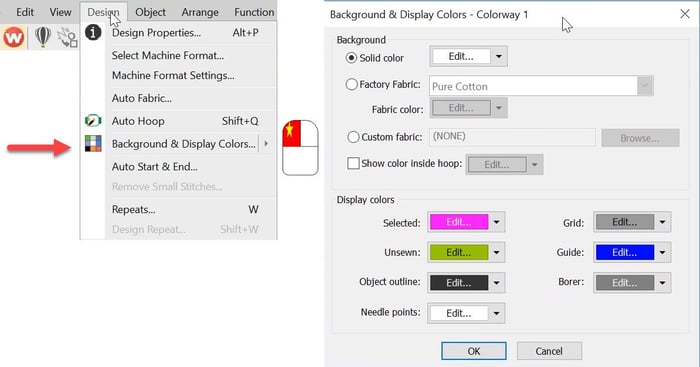
Background and Display Colors
Blog | EmbroideryStudio | Tips & Tutorials
The Background and Display dialog can be accessed from the Design menu. Or the colored cubes and the left end of the color palette. The top half of the dialog box deals with the background on your...