
Feature overview

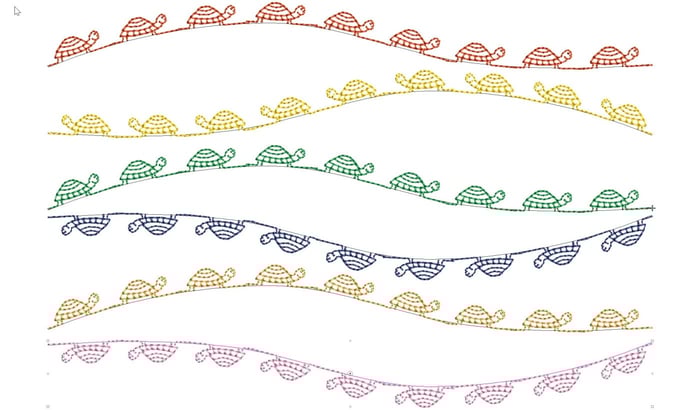
Motif Outlines and Columns
Blog | Elements | EmbroideryStudio | Feature overview
The Motif Run Tool is found in the Outline Toolset The reality is the motif is a property that can be assigned to any outline tool type. So after creating a running stitch, triple run, backstitch, stem...
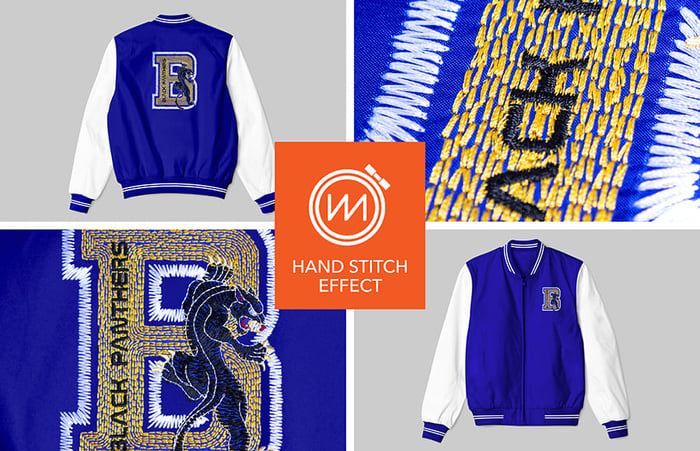
Hand Stitch Effect
Blog | Elements | EmbroideryStudio | Feature overview
Hand stitching gives a beautiful rusticated effect to designs. It is an effect rather than a stitch type and therefore can be applied to most stitch types and input methods. The stitch effects can be used...

How to cut your digitizing time in half!
Blog | EmbroideryStudio | Feature overview
With EmbroideryStudio e4 Elements, you no longer need to make this sacrifice! These add-on Elements automate many complex embroidery techniques, which means you can bring your visions to life and...
The Dockers
Blog | EmbroideryStudio | Feature overview | Tips & Tutorials
The Dockers could be thought of as part of the control system of the software.The place where you can set up your thread chart and working palette or view and control an objects properties, select...
Reversing the Direction and Orientation of a Motif on a Line
Blog | EmbroideryStudio | Feature overview | Video
Reversing the direction and or orientation of an open ended motif run can be changed with the Transform Tools.The Transform tools can also be found in the Edit Menu.Or if you are a Shortcut person CTRL 1 for...

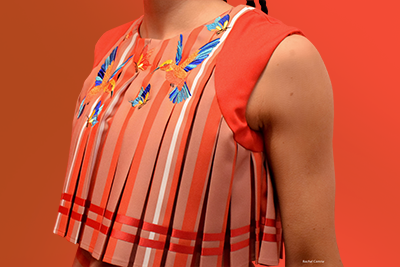
Digitizing for bling with Wilcom’s EmbroideryStudio
Blog | EmbroideryStudio | Feature overview | Tips & Tutorials
Bling refers to decorative objects placed on garments or templates, either on their own or in combination with other design elements. Bling is supplied in varying sizes, shapes, colors and materials....
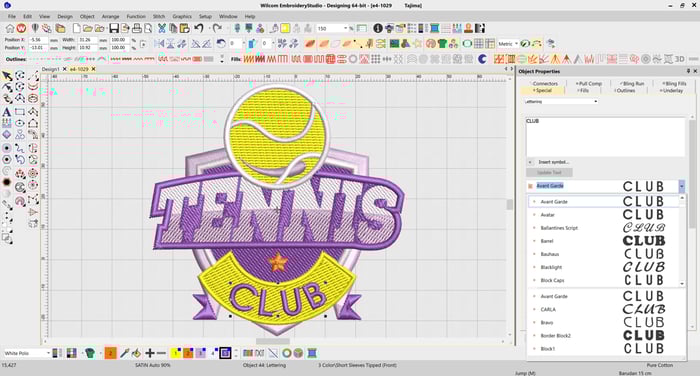
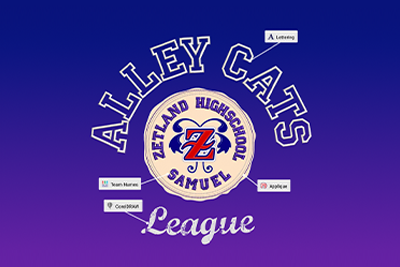
Lettering improvements in EmbroideryStudio e4.2
Blog | EmbroideryStudio | Feature overview | Lettering
In our most recent major release, EmbroideryStudio e4.2, we introduced a number of improvements to the way you select and use fonts. The font previews in e4.2 are now solid, meaning you can quickly...
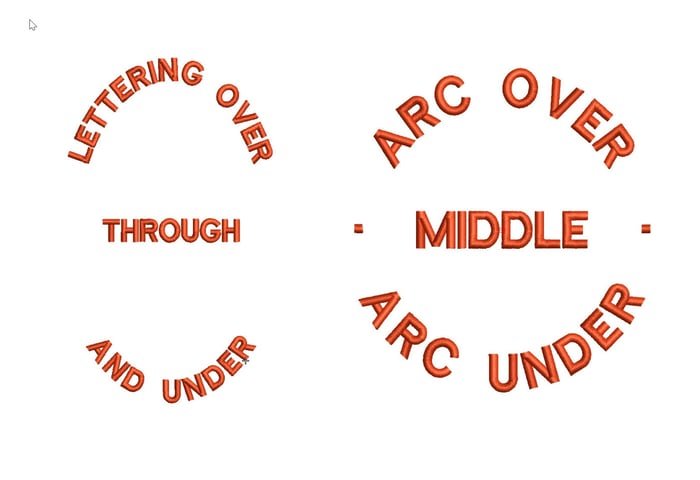
Creating a Predefined Baseline
Blog | EmbroideryStudio | Feature overview | Tips & Tutorials
d elliptical designs that have lettering around the logo and possibly through the middle. The procedure is exactly the same as for a circular baseline but involves three lines of lettering.If you do...
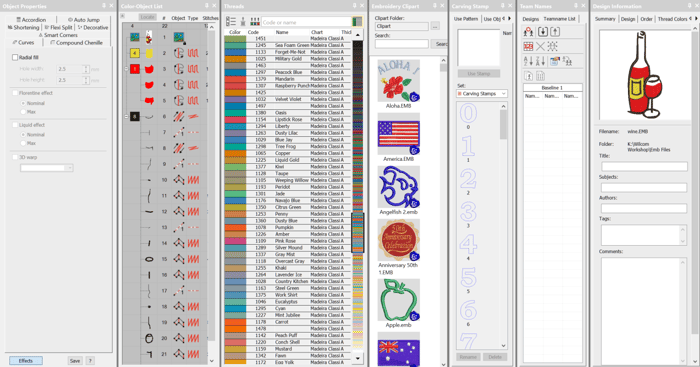
Color Object List
Blog | EmbroideryStudio | Feature overview
When creating anything it pays to have a plan. Understand the the list of components, the tools required and the construction sequence is imperative to good design. This is particularly so in embroidery...
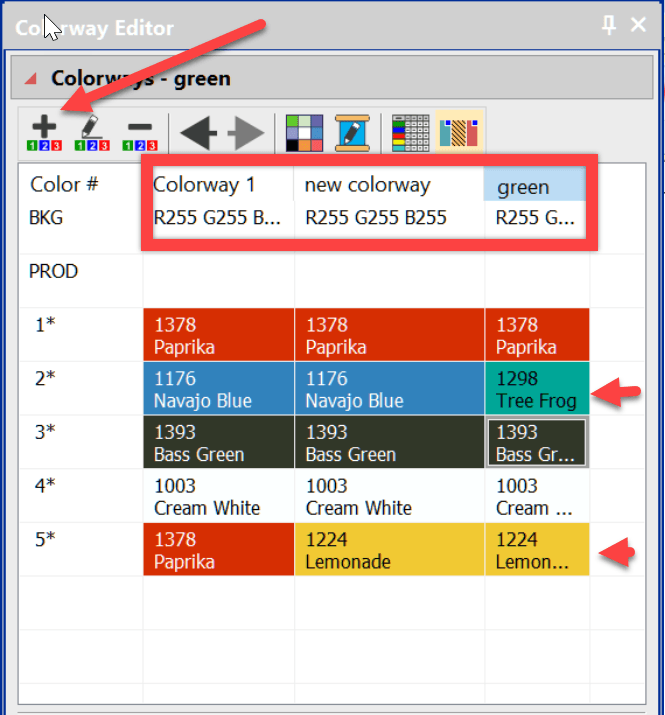
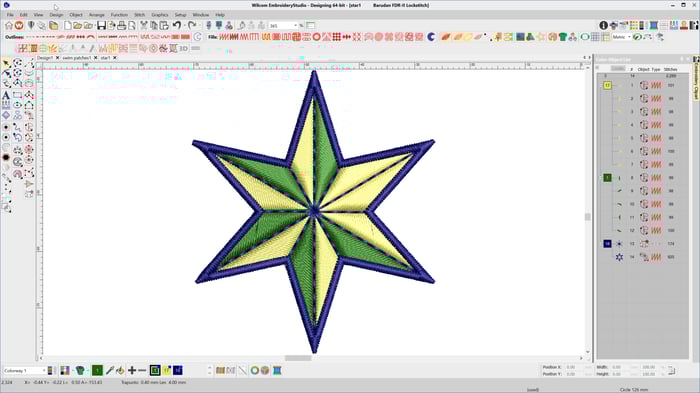
Colorways and Splitting a Color
Blog | EmbroideryStudio | Feature overview | Release announcement | Video
Saving several versions of the same design simply because of a color change is unnecessary and poor practice.The danger is that you make an edit to one of the color combinations and forget to make it to the...
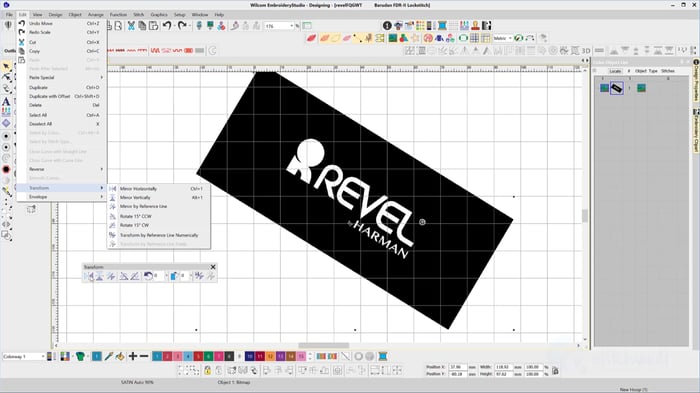
The Transform Toolbar
Blog | EmbroideryStudio | Feature overview
The Transform Toolbar contains icons (functions) to resize, reflect, rotate and slant images and or embroidery objects in a precise and accurate manner. Simply select the tool, plot a line with two...

Auto Kerning
Blog | EmbroideryStudio | Feature overview | Tips & Tutorials | Video
Even in print different letters have different kerning values.Two O’s are usually spaced closer together than two I’s. This is particularly important in embroidery. Two I’s, if too close...