

Video
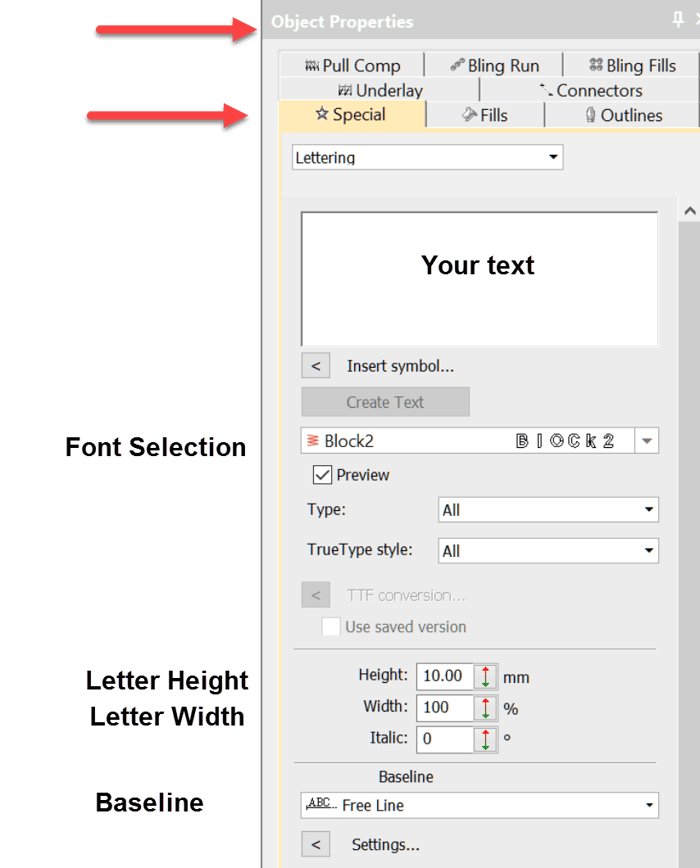
Your first line of lettering created on a Freeline
Blog | EmbroideryStudio | Lettering | Tips & Tutorials | Video
Whether you are using a lettering package or a high end digitizing system the same standard procedure to create lettering applies.When you are talking about Wilcom’s lettering it is difficult to use...

Complex Fill Tool
Blog | EmbroideryStudio | Tips & Tutorials | Video
The complex fill tool is used to create larger shapes where a single stitch angle is required, the tool is generally associated with tatami stitching, of course the size of the object will also help...
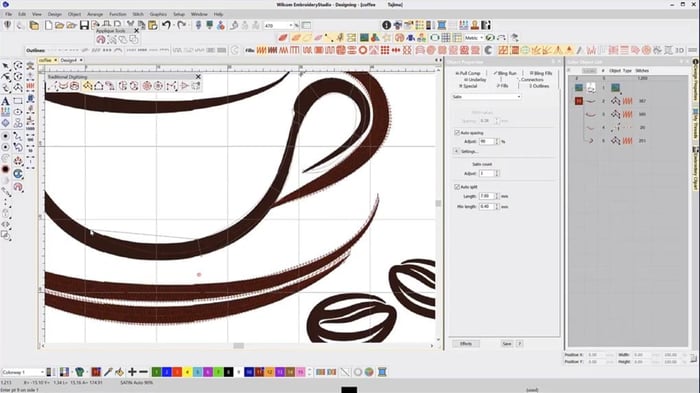
Column A tool
Blog | EmbroideryStudio | News and Stories | Video
In Decorating the tool is called “Digitize Column” and in Designing “Column A”The two variants are found in the Traditional digitizing toolbar in Designing and the Graphic...
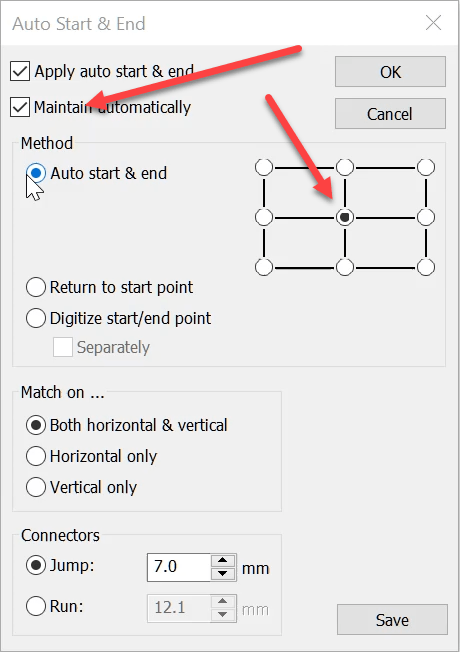
Auto Start End
Blog | EmbroideryStudio | Tips & Tutorials | Video
The Auto Start End feature is critical to have set correctly to avoid driving the needle into a hoop but it is more useful than this basic function.It is possible to place the start and finish point at...
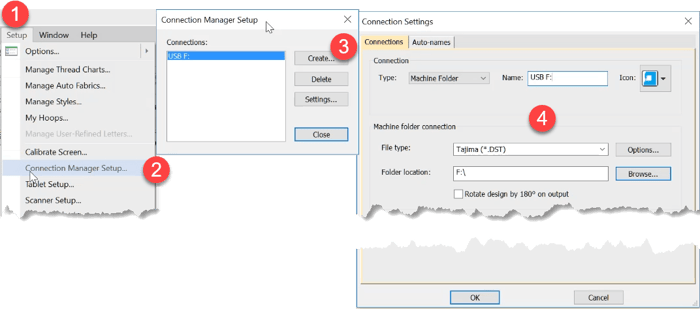
Export a machine file to a USB Drive
Blog | EmbroideryStudio | Tips & Tutorials | Video
Thanks to Paula, Anne Marie, Crystal, Bob and others who have raised this issue. Some people including myself have been frustrated that Windows 10 is not remembering the default drive to export machine...

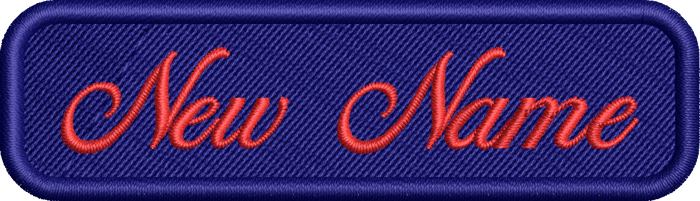
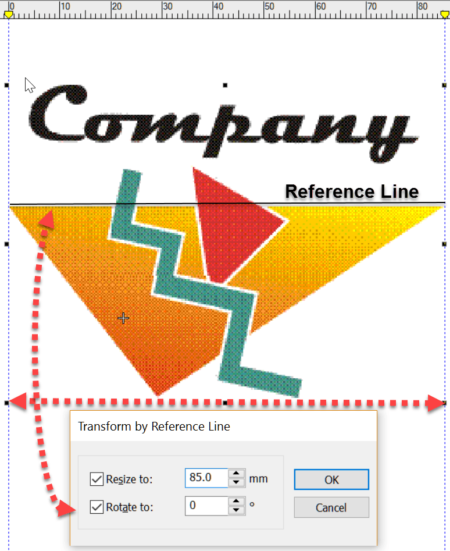
Auto Kerning
Blog | EmbroideryStudio | Feature overview | Tips & Tutorials | Video
Even in print different letters have different kerning values.Two O’s are usually spaced closer together than two I’s. This is particularly important in embroidery. Two I’s, if too close...

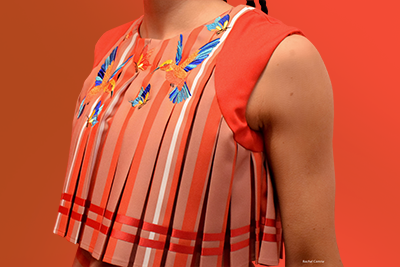
Shading, Open and Curved Fills
Blog | EmbroideryStudio | Feature overview | Video
Adding curved fills and shading to tatami objects to a design adds depth and vitality to a design. Both features are add on elements to the designing software. They work together or independently to add the...
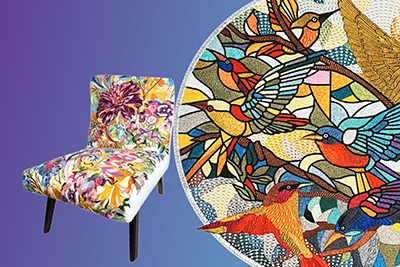
Repair any Damaged Garment with the help of CorelDRAW
Blog | EmbroideryStudio | Feature overview | Video
If you have not already, then at some time in your embroidery career you will need to make a repair to a damaged garment. One way to do this is cover the old logo or damaged garment with a block of...

Creating automatic borders and outlines with Offsets Advanced Element
Blog | EmbroideryStudio | Feature overview | Tips & Tutorials | Video
Creating a border or outline is something you probably do every day as an embroidery digitizer. But did you know there is a quicker way to create borders and outlines with the Offsets Advanced Element...
Some compelling reasons to upgrade DecoStudio to EmbroideryStudio e4 Decorating
Blog | EmbroideryStudio | Tips & Tutorials | Video
There are many compelling reasons to update from DecoStudio to e4 Decorating. Here are a few Instant smart Design will create an .emb embroidery file from a raster image within seconds, but what I...
More Reasons to upgrade from DecoStudio to Decorating e4
Blog | Feature overview | Tips & Tutorials | Video
Importing an image to the work area is the first step in creating a design. DecoStudio relies on CorelDRAW to import and edit images, while this is adequate, the process is time consuming and...
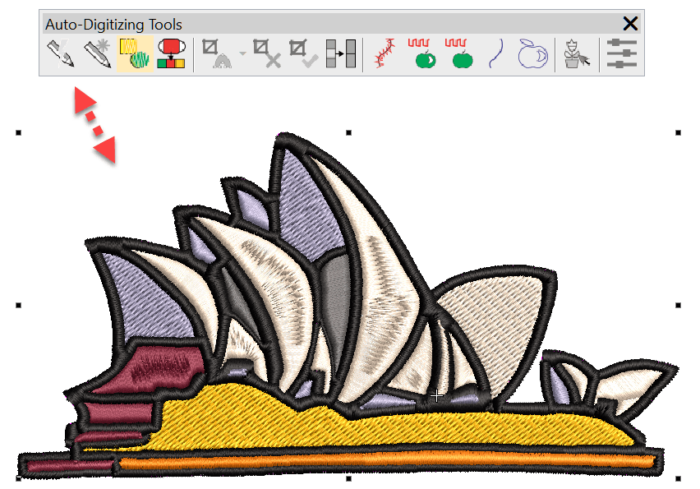
Simple embroidery digitizing tutorial
Blog | EmbroideryStudio | Tips & Tutorials | Video
In this embroidery digitizing tutorial, I focus on using the Single Run outline tool and Column A digitizing tool, as a result giving you an overview of digitizing a design in Wilcom...