
Templates
Blog | EmbroideryStudio | Tips & Tutorials
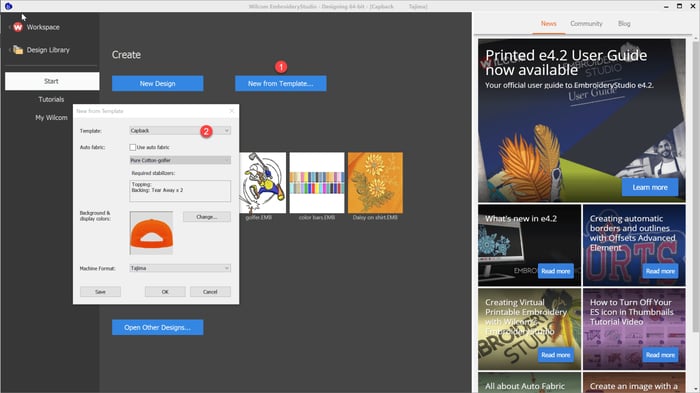
Templates save time and Money by presetting standard properties for particular jobs.In the example video below I demonstrate how to set up your thread brand and save to a NORMAL (standard) template.Your thread...

EmbroideryStudio e4.2 Printed User Guide now available
Blog | EmbroideryStudio
A printed EmbroideryStudio e4.2 User Guide is now available from Amazon.com for only US$49. This 647 page comprehensive user guide covers topics including: Buy Now! To get a sneak peek or buy now,...
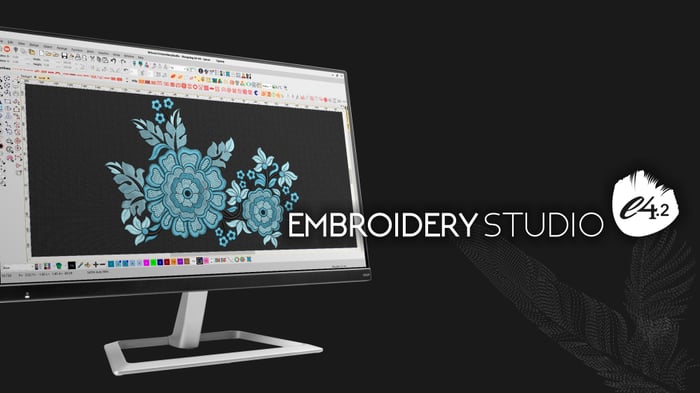
EmbroideryStudio e4.2 is released
Blog | EmbroideryStudio | Release announcement
EmbroideryStudio e4.2 is released! Download e4.2 now! This update is free to all existing e4.0 and e4.1 users (download link below!), or can be purchased as an update for e3 and below users.
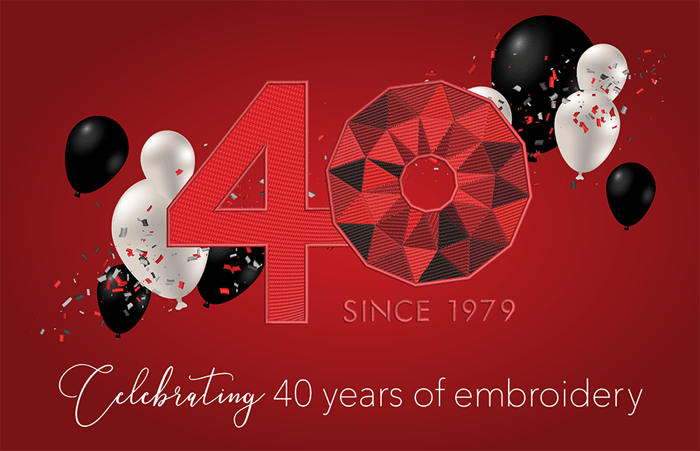
40 Years of Embroidery Excellence at Wilcom
Blog | News and Stories
It is 2019, and that means we are celebrating our 40th year of creating world-leading embroidery software! The past four decades has been exciting and packed with innovation.It all started in 1979 as a...
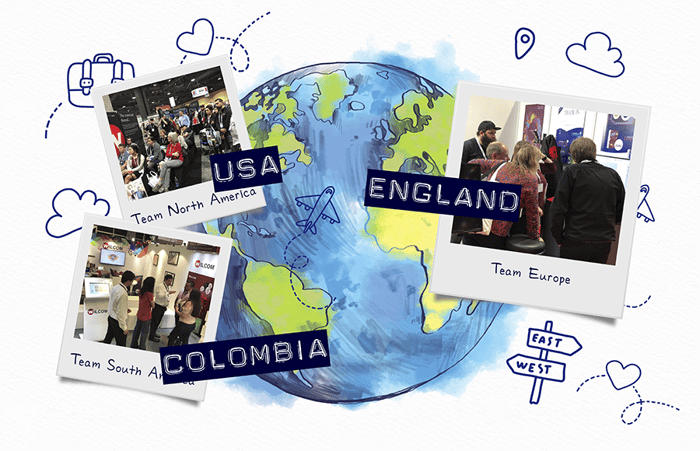
Three continents in three days
Blog | News and Stories
January 2019 was a very busy month for the Wilcom team. It was the announcement of EmbroideryStudio e4.2, a major update that delivered incredible new features, and more importantly, Wilcom celebrated 40...
Color Object List
Blog | EmbroideryStudio | Feature overview
When creating anything it pays to have a plan. Understand the the list of components, the tools required and the construction sequence is imperative to good design. This is particularly so in embroidery...
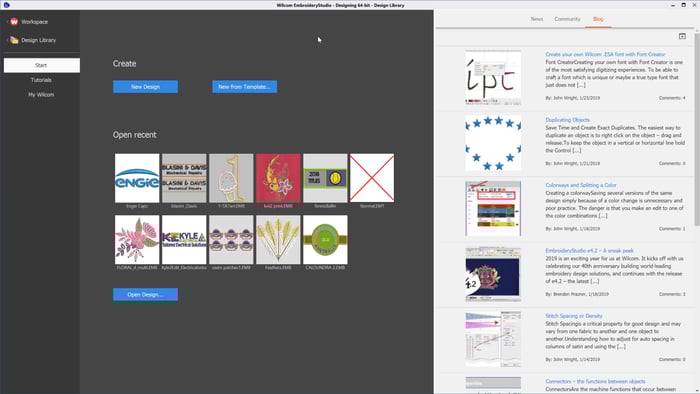
EmbroideryStudio 4.2 Home Screen
Blog | EmbroideryStudio
The soon-to-be-released EmbroideryStudio e4.2 introduces a new Home/Welcome Screen with handy links to Wilcom News, your Wilcom community where you can search for answers to questions you may have, offer...
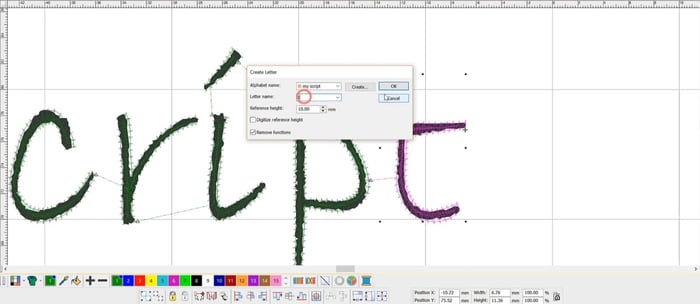
Create your own Wilcom .ESA font with Font Creator
Blog | EmbroideryStudio | Lettering | Tips & Tutorials | Video
Creating your own font with Font Creator is one of the most satisfying digitizing experiences. To be able to craft a font which is unique or maybe a true type font that just does not stitch well, is a real...

Duplicating Objects
Blog | EmbroideryStudio
The easiest way to duplicate an object is to right click on the object – drag and release. To keep the object in a vertical or horizontal line hold the Control key while dragging.I find...
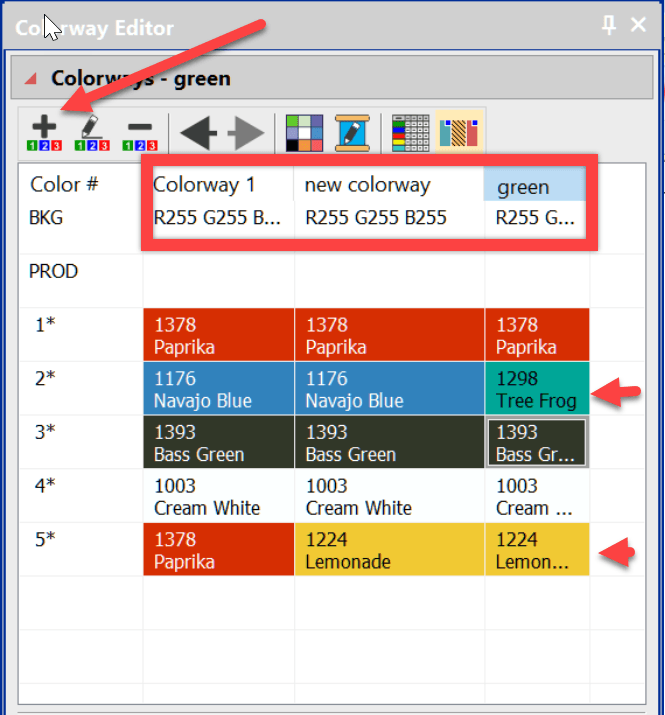
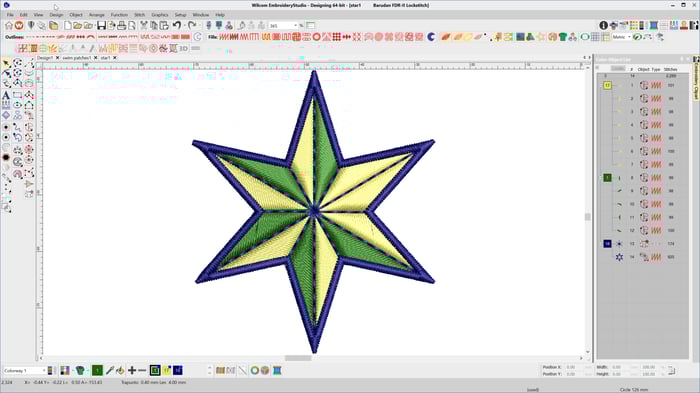
Colorways and Splitting a Color
Blog | EmbroideryStudio | Feature overview | Release announcement | Video
Saving several versions of the same design simply because of a color change is unnecessary and poor practice.The danger is that you make an edit to one of the color combinations and forget to make it to the...
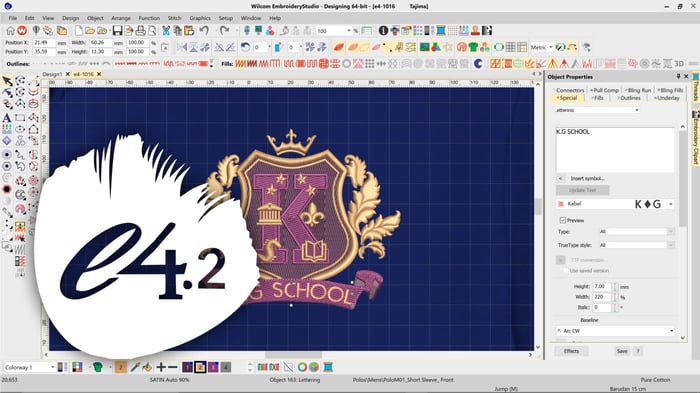
EmbroideryStudio e4.2 – A sneak peek
Blog | EmbroideryStudio | Release announcement
UPDATE: EmbroideryStudio e4.2 is released. Click here for more information. 2019 is an exciting year for us at Wilcom. It kicks off with us celebrating our 40th anniversary building world-leading embroidery...
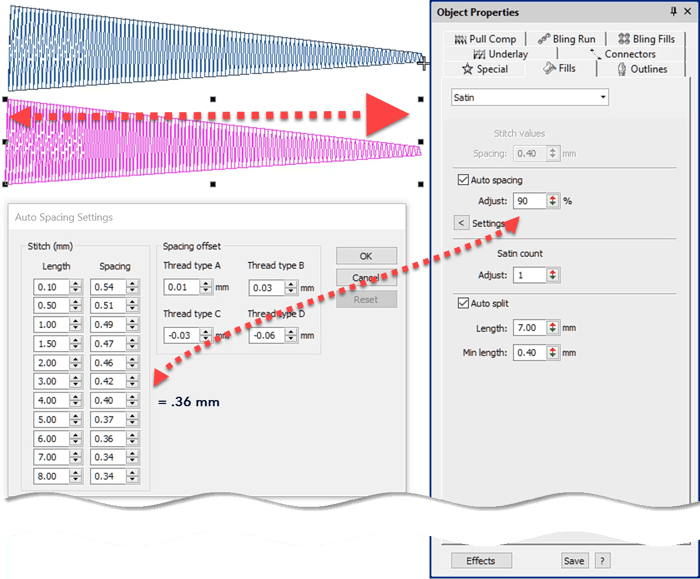
Stitch Spacing or Density
Blog | EmbroideryStudio
Stitch Spacing is a critical property for good design and may vary from one fabric to another and one object to another.Understanding how to adjust for auto spacing in columns of satin and using the...