EmbroideryStudio e4.2 Update 1 is Released!
Blog | EmbroideryStudio | Release announcement
Summary of update: New or improved:Customer feedback suggested that users prefer the previous method to change thread colors by double clicking the thread color. Therefore, this behaviour has been...
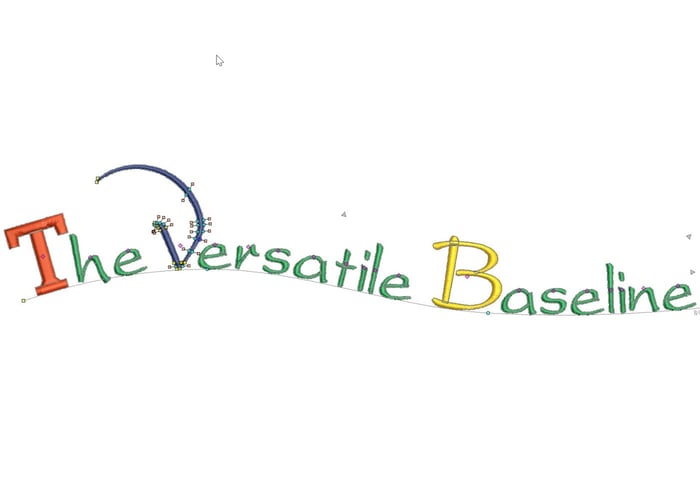
The Versatile Baseline
Blog | EmbroideryStudio | Lettering
The Baseline is a property of a lettering object and may be changed at any time, even after the object has been created. The Baseline is one of the great benefits of the Embroidery Studio lettering...
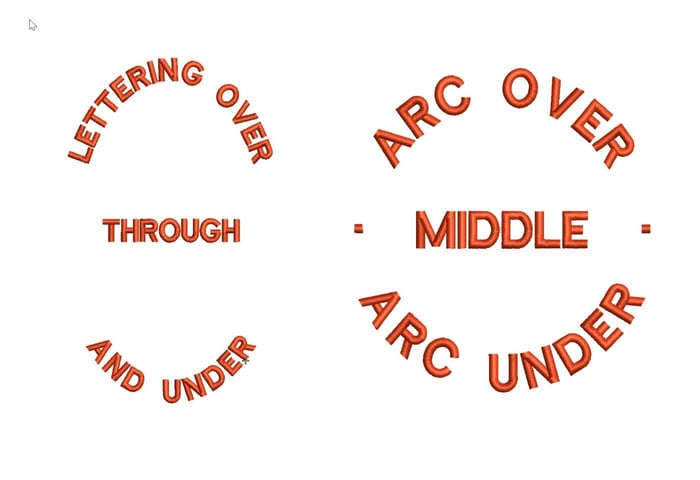
Creating a Predefined Baseline
Blog | EmbroideryStudio | Feature overview | Tips & Tutorials
d elliptical designs that have lettering around the logo and possibly through the middle. The procedure is exactly the same as for a circular baseline but involves three lines of lettering.If you do...
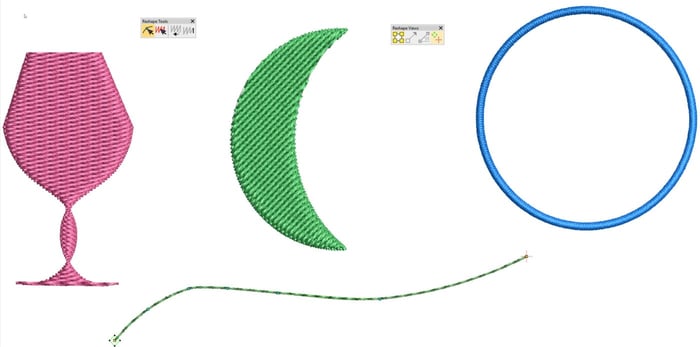
How to reshape objects in your embroidery design
Blog | EmbroideryStudio | Tips & Tutorials | Video
Keyboard Shortcut “H” is one of my top 10 shortcut keys. Objects need to be reshaped for all sorts of reasons, perhaps to make a slight adjustment to correct a registration issue or improve the...
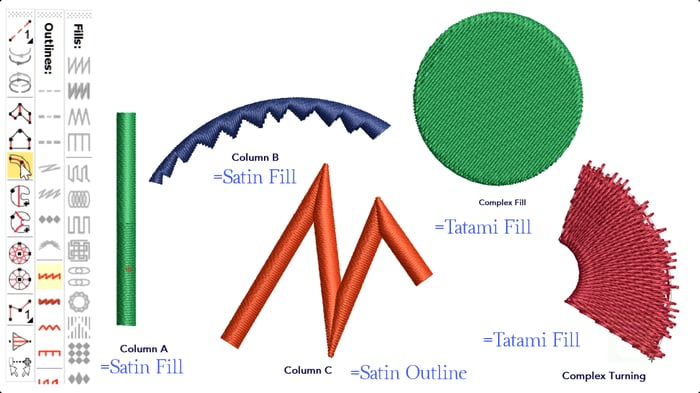
How to customize the Tool Properties in your Templates
Blog | EmbroideryStudio
Templates are designed to save time and give a consistent result for all of your design work.Embroidery Studio 4.2 allows you to save specific property values to 6 of your main digitizing tools.For example you...
Create custom split patterns with Carving Stamp
Blog | EmbroideryStudio | Tips & Tutorials
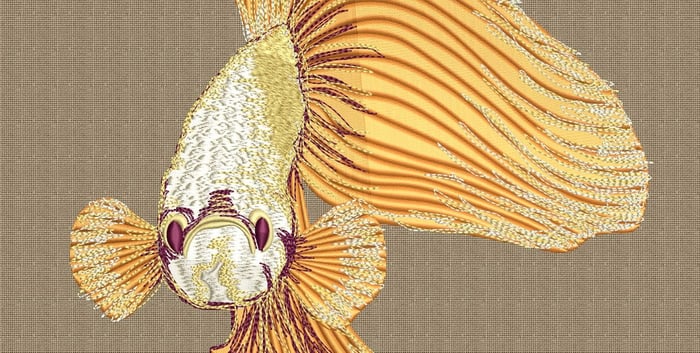
Carving Stamp is a great feature to add a level of creativity to your design, because they enable you to quickly an easily add custom split patterns in just seconds.You can create your customer split patters...
How do I allocate the correct Thread Brand and Color to a design
Blog | EmbroideryStudio
With the correct information saved to your embroidery file you could have a paperless system.Nothing will upset a customer more than the wrong colored thread in their logo.Why not keep all the color...

How to Create Lettering on a Circular or Elliptical Baseline
Blog | EmbroideryStudio | Lettering | Tips & Tutorials
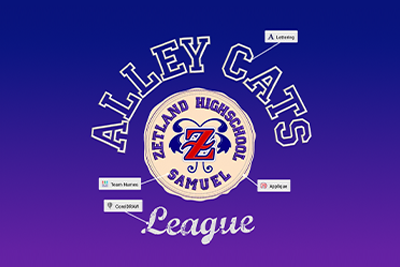
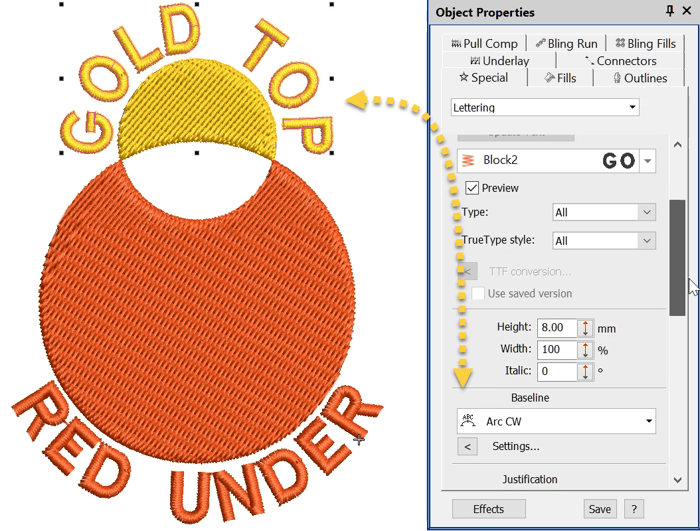
To create lettering on Circular or Elliptical baselines choose the Circle CW or Circle CCW baseline depending on whether you want the line to arc over or under the logoAfter typing the letters into the...
How do I create lettering on a curved line? ARC CW or ARC CCW
Blog | EmbroideryStudio | Lettering | Video
Baselines are a property of a lettering object and like any property they can be changed , so a Freeline can become a curve and vice versa even after the line has been created, by selecting the line and...
Templates
Blog | EmbroideryStudio | Tips & Tutorials
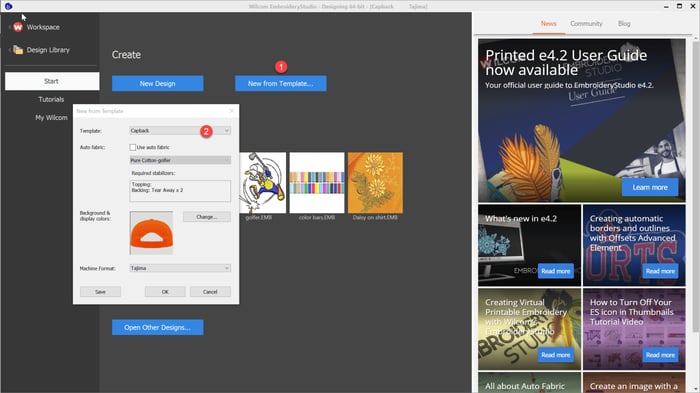
Templates save time and Money by presetting standard properties for particular jobs.In the example video below I demonstrate how to set up your thread brand and save to a NORMAL (standard) template.Your thread...
EmbroideryStudio e4.2 Printed User Guide now available
Blog | EmbroideryStudio
A printed EmbroideryStudio e4.2 User Guide is now available from Amazon.com for only US$49.This 647 page comprehensive user guide covers topics including:Object-based embroideryHardware & Software...
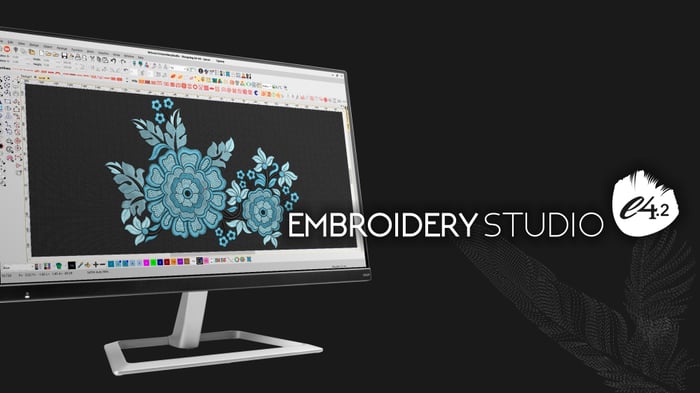
EmbroideryStudio e4.2 is released
Blog | EmbroideryStudio | Release announcement
EmbroideryStudio e4.2 is released!Download e4.2 now!This update is free to all existing e4.0 and e4.1 users (download link below!), or can be purchased as an update for e3 and below users.Important note:...

